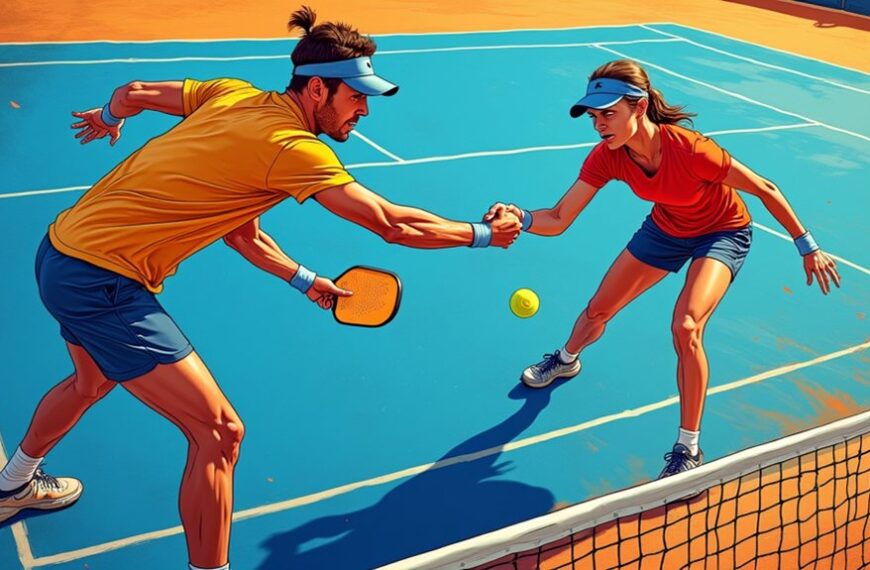
Stand 3-4 meters from the wall for controlled forehands. Keep feet shoulder-width apart and bend knees slightly. Contact the ball in front of your body and follow through toward the target. Prioritize control over power.
Rest 30 seconds between intensity bursts and aim for 50 clean hits minimum per skill area. Warm up 5 minutes before drilling. Fix bad habits immediately by stopping the drill, identifying the mistake, and resetting your stance. Hit into court corners to simulate match conditions. For more detailed guidance, continue exploring these techniques.
Solo Padel Drills That Actually Work
When you practice solo padel drills, start with wall work to build consistency.
- Stand 3-4 meters from the wall for controlled forehands. Focus on contact point and follow-through. Prioritize control over power.
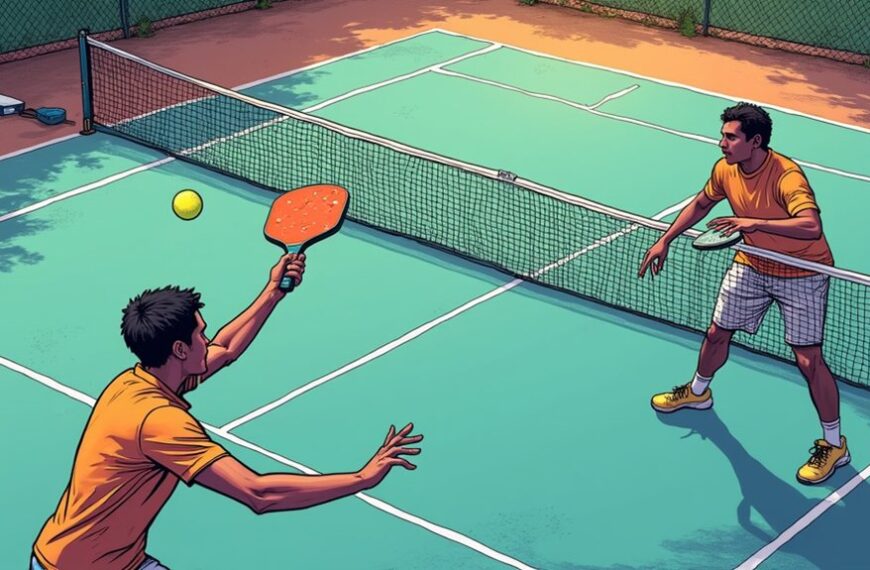
- Practice gradual approach to back glass for half-volleys. Swap to volleys near glass, then step backwards to increase difficulty.
- Hit into court corner using forehand and backhand. Keep ball close to corner. Maintain good footwork and low compact position.
- Practice spin on forehand and backhand near wall. Emphasize racket head control for spin variation.
- Use empty court with single ball for basics. Begin with simple shots around court perimeter. Build from warmups to specific skill isolation.
Focus on repeatable mechanics without fatigue. Integrate wall for rebound consistency. For home session planning and connectivity, a managed smart router can help ensure your training videos and apps stream without interruption.

ENHANCED BALL SPIN AND CONTROL – Improve your padel game with Pro Spin Strips powered by Rezztek. Pro Spin Strips are designed to allow players to put more spin on the padel ball and achieve precise shot control.

Lightweight Carbon Fiber Build – Designed specifically for kids with durable, lightweight material.

ENHANCED SPIN CONTROL: Silicone spin strips are designed to boost spin on your padel shots, giving you a competitive edge on the court.
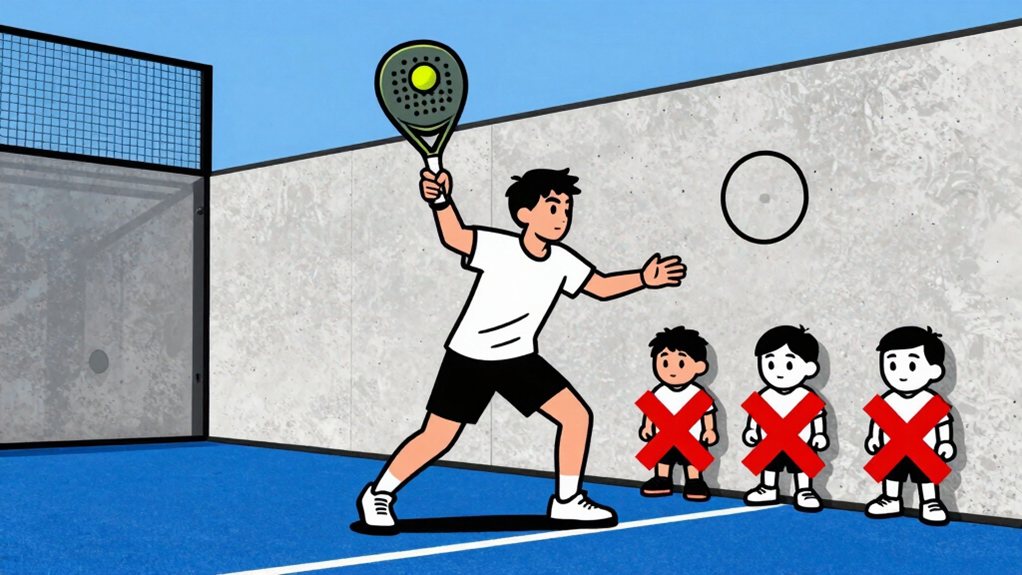
Five Mistakes Sabotaging Your Solo Practice
If you want to improve faster, avoid these five common mistakes during solo padel practice.
- Hitting away from corners forces erratic bounces. You waste shots and build bad timing.
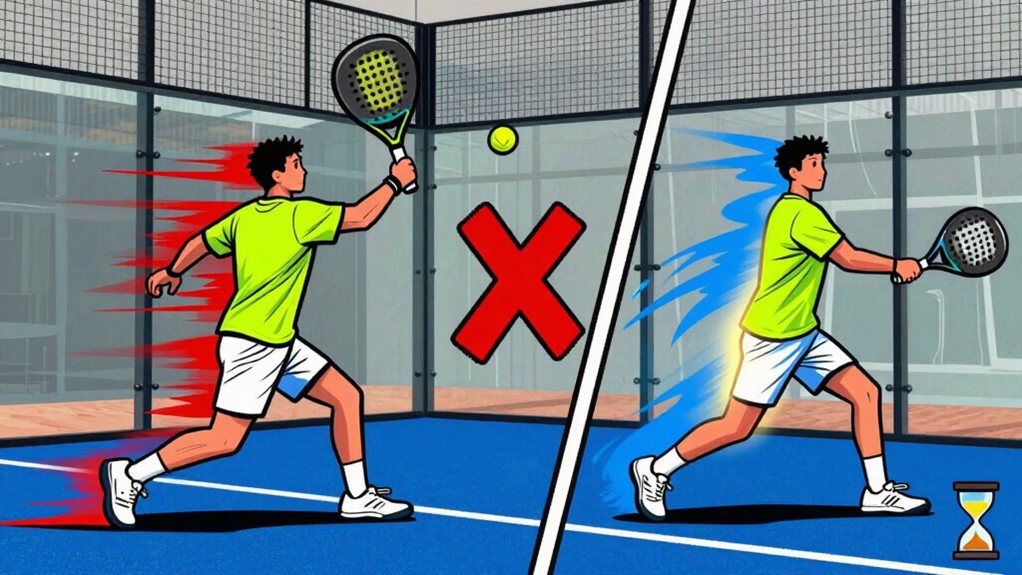
- Overpowering shots reduce your control. You sacrifice accuracy for empty power.
- Skipping footwork drills leaves you unprepared. You can’t recover quickly without solid footwork.
- Standing too tall limits your stability. You lose the low, compact position needed for solid contact.
- Practicing trick spins in training creates bad habits. You’ll attempt them in match play when you need reliability.
Correct these errors and your solo sessions will finally produce results.
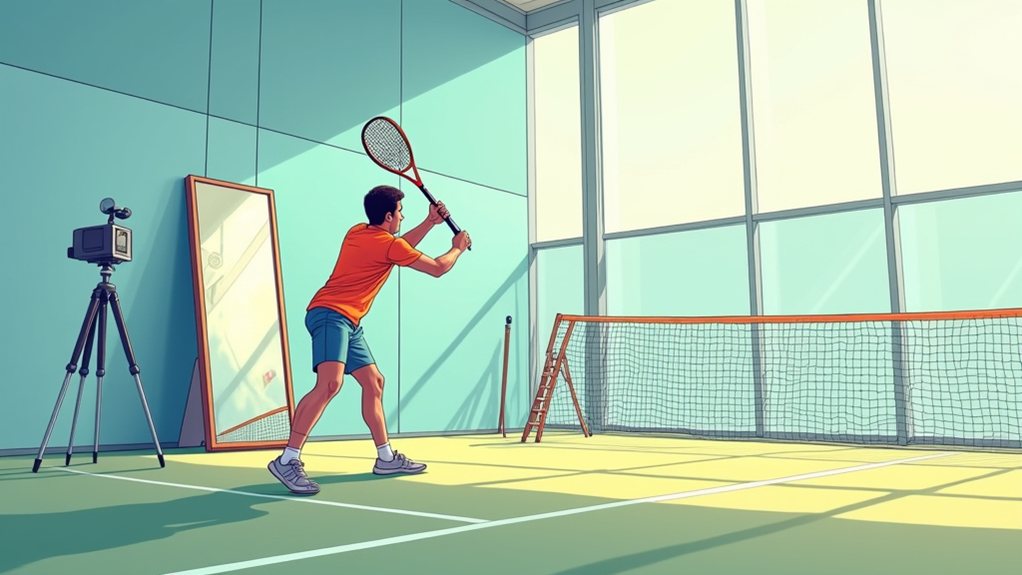
Wall Drill Technique for Cleaner Contact Points
Master the wall drill technique by maintaining consistent distance and purposeful body positioning. Stand 3-4 meters from the wall for controlled forehands. Keep your feet shoulder-width apart. Bend your knees slightly.
Maintain consistent distance, keep feet shoulder‑width apart, bend knees slightly for controlled forehands.
- Position yourself 3-4 meters from the wall.
- Keep feet shoulder-width apart.
- Contact the ball in front of your body.
- Follow through toward the target.
Focus on contact point and follow-through during hits. Avoid smashing; prioritize control over power. Watch the ball hit the racket face. Complete your swing fully.
Keep your racket head up after contact.
Practice approaching the back glass for half-volleys.
Shift to volleys near the glass, then step backwards.
This creates cleaner contact points and better ball rebound.
How to Structure a Solo Session for Real Improvement?
Now that you’ve mastered the wall drill technique for cleaner contact points, apply that foundation to a structured solo session. Build your practice in three phases.
- Warm up for five minutes. Hit easy forehands and backhands along the court perimeter. Focus on rhythm and loose wrists.
- Isolate specific skills for ten minutes each. Practice footwork one day. Practice spin control the next. Keep stance low throughout.
- Simulate match conditions. Hit into court corners with controlled power. Aim for placement over power. Maintain low, compact position.
Rest thirty seconds between intensity bursts.
Track your totals: aim for fifty clean hits minimum per skill area. Progress only when you maintain consistent form across all repetitions.

Builds a visual focus to improve shooting accuracy

SET OF TWO: Practice your shooting skills on any official size lacrosse goal with these (2) top corner shooting targets that measure 20.5" x 20.5"

Durable Rubber Construction: Built to withstand repeated use on indoor and outdoor courts
Fixing Bad Habits Before They Become Permanent
When you notice a bad habit forming during your solo practice, address it immediately before it becomes ingrained in your muscle memory. You must correct flaws during the session. Don’t wait for another day.
- Stop your drill when you see error patterns forming.
- Identify the specific mistake clearly.
- Isolate that movement for focused repetition.
- Reset your stance and grip before continuing.
- Film your session for accurate self-review.
Common fixes include:
- Keep your feet shoulder-width apart.
- Lower your racket head before contact.
- Shorten your backswing to 12 inches.
- Step toward the ball with your leading foot.
We replace bad habits with correct patterns through deliberate, slow repetition. You build new muscle memory through 15-20 quality reps.
Frequently Asked Questions
How Long Should a Solo Padel Session Last for Optimal Improvement?
Train for 30-45 minutes, focusing on quality over quantity. You should maintain sharp focus throughout, take short breaks between drill sequences, and stop before fatigue creates bad habits. Consistency matters more than duration, and you’ll steadily improve.
What Type of Ball Is Best for Solo Wall Drills?
A slightly deflated ball works best for solo wall drills: you’ll get predictable rebounds and maintain control. New balls bounce erratically, disrupting your technique. Slightly worn balls give you consistent practice without chasing wild rebounds.
Should I Use a Specific Racket for Solo Practice?
Use your regular padel racket for solo drills. Maintain consistent feel and weight familiarization. Avoid using worn or misweighted rackets that reinforce bad habits. Your standard racket keeps muscle memory accurate when you return back to competitive play.
How Can I Measure Improvement Without a Playing Partner?
The proof is in the pudding: film your wall drills and compare consistency. Track corner accuracy percentages. Measure footwork speed and spin control. Record rally lengths you maintain solo.
Review footage weekly to quantify your progress.
Is It Safe to Practice Solo Padel With a Knee Injury?
You can practice solo padel with a knee injury if you avoid lunging, maintain a low stance, and skip movements requiring sudden direction changes. Consult your doctor first, prioritize controlled drills, and ease into activity gradually for safe rehabilitation.
Final Thoughts
Step 1: Identify bad habits. Step 2: Practice with purpose. Step 3: Use wall drills for clean contact. Step 4: Structure each session with clear goals. Step 5: Track your progress. You’ll reduce errors. We’ll recommend practice. Practice, precision, and patience produce powerful performance. You must always avoid autopilot actions. We focus on fundamentals for success.
Hit 100 balls per drill. Rest 30 seconds between sets. Aim for 5 drills per session. Track your improvement today.
ULTIMATE CONTROL AND POWER - Elevate your game with the AT10 Genius 18K Alum Padel Racket by Agustin Tapia, perfect for advanced players. Featuring 18K Carbon Alum for impeccable stability and a MLD Black EVA core for a medium-hard feel, this pala padel offers a blend of 95/100 in both power and control that meets the demands of competitive play.

BUILT FOR CONTROL & PRECISION – The Royal Padel M27 Control offers exceptional shot accuracy, perfect for players focused on placement and consistency.

SUPERIOR CONTROL & SOFT FEEL: Designed with a durable fiberglass surface, this padel racquet delivers a softer touch and enhanced control, making it perfect for beginners and intermediate players looking to refine their technique.