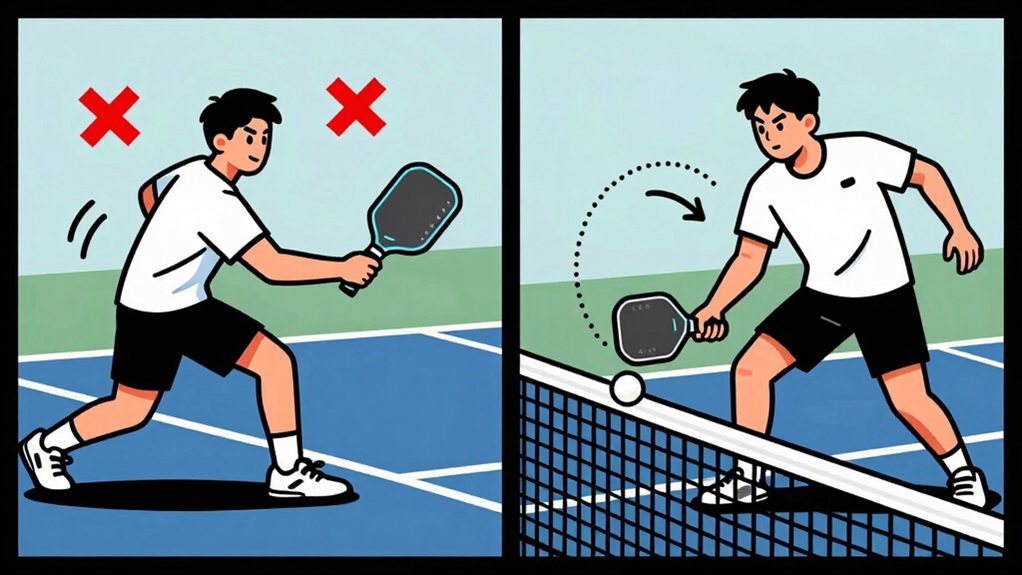
Master the dink shot by starting with a relaxed grip, knees bent, and feet positioned near the non-volley zone line. Keep your stance compact with a short 6-inch backswing. Contact the ball in front of your body and push it softly over the net. Use a low-to-high motion with minimal follow-through.
Practice 20 dinks per session, aiming for 10 consecutive rally hits. Vary placements between straight and cross-court shots to keep opponents guessing. We can develop better touch and control by mastering these fundamentals first.
What Is a Dink and Why It Belongs in Your Game?
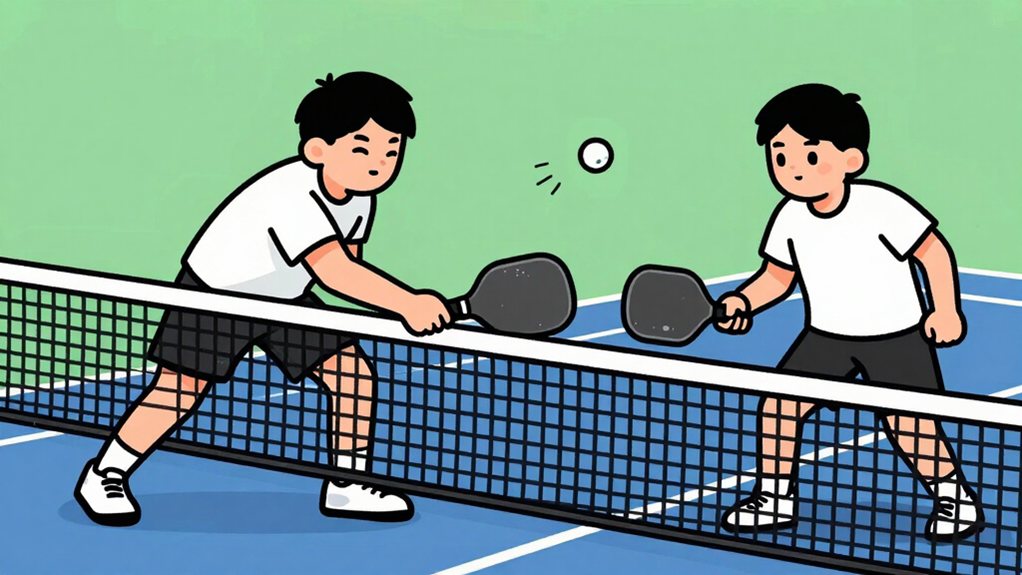
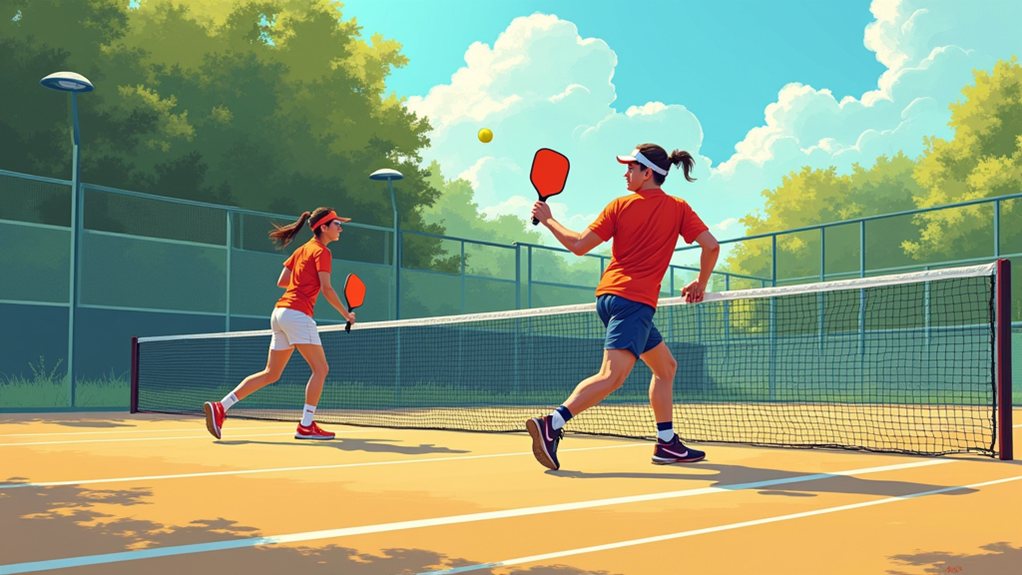
Whether you’re a beginner or an experienced player, the dink shot should be part of your pickleball strategy. A pickleball dink is a soft, low-trajectory shot that lands in your opponent’s non-volley zone (NVZ). You hit it from near the NVZ line, not from the baseline.
Why use the pickleball dink shot:
- It forces your opponents into defensive positions
- It limits their attacking opportunities
- It gives you time to reposition on the court
- It creates openings for winning shots
The pickleball dinking technique requires finesse over power. Your goal is control, not speed.
When you learn how to dink in pickleball, you add a strategic weapon that works at any skill level. Master this shot, and you control the point from the kitchen line.

Comfort & Efficiency: The patented hexagonal design expands the contact surface between hand and handle, increasing grip efficiency by up to 14%. It allows a secure hold with less effort and tension, helping players maintain control and comfort during every shot.
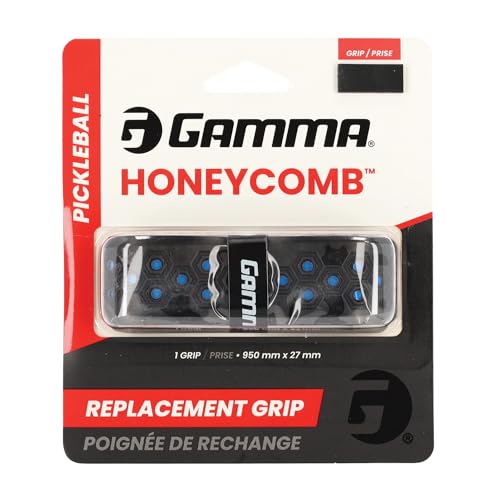
Features. Honeycomb Cushion grip. Comes in different colors so that you can match your grip to your favorite pickleball paddle.

Comfort & Performance: The unique hexagonal design expands the contact surface between hand and handle, increasing grip efficiency by up to 14%. This allows you to hold the paddle with less effort, reducing finger and wrist strain for a smoother, more controlled swing.
Grip and Stance for Controlled Dinking
To master the dink, you must first establish a solid grip and stance. Follow these steps for effective control.
Grip
- Use a relaxed grip on your paddle
- Don’t squeeze the handle tightly
- Keep your fingers wrapped around the paddle
- Position your hand near the bottom of the handle
Stance
- Stand close to the non-volley zone line
- Keep your knees slightly bent
- Stay balanced on the balls of your feet
- Point your paddle head downward
- Keep your weight centered
This position gives you quick reactions and steady control.
You stay ready to move in any direction.
Your relaxed grip allows gentle touch.
Your bent knees provide stability.
You now have the foundation for consistent dinking.
The Dink Swing Motion: Step-by-Step
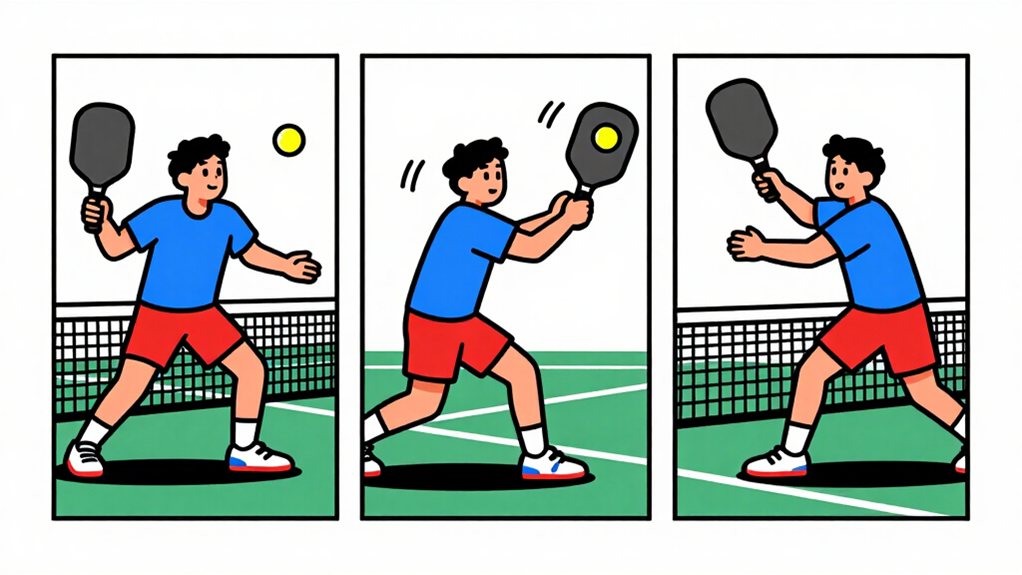
Now let’s break down the swing motion into three key steps: first, you need to maintain your relaxed grip throughout the swing; second, you create a easy, low-to-high motion with the paddle; third, you complete the swing with a gentle follow-through toward the target.
Proper Grip Technique
Mastering the proper grip and swing motion sets the foundation for consistent dink play.
- Hold your paddle loosely. A tight grip kills touch.
- Use a continental or eastern grip.
- Place your index finger along the paddle edge for control.
- Keep 2-3 inches of handle exposed.
- Spread your fingers across the handle.
- Apply even pressure, about 3-4 on a 10-point scale.
Your grip determines ball feel. Practice these steps daily:
- Keep your grip relaxed throughout the shot
- Release tension immediately after contact
- Maintain consistent grip pressure from start to finish
- Check your grip monthly for proper technique
A correct grip enables effortlessdink placement. Your fingers work as sensors. They read the ball and adjust automatically. For players who want to elevate their overall game management, a Home Assistant smart hub can help automate court-side devices so you stay focused on technique during practice sessions.
Smooth Swing Motion
Because the dink requires finesse over power, we use a short, compact swing rather than a full backswing. Keep your grip relaxed. Bend your knees slightly. Hold your paddle with the head pointing down.
- Start the swing by pushing the paddle low to the ball.
- Lift the paddle upward in a steady arc.
- Contact the ball in front of your body.
- Keep your wrist firm but flexible.
- Maintain control throughout the motion.
Your swing stays compact. You focus on touch rather than force. The paddle moves in a low-to-high path. You contact the ball at knee height.
Your body stays balanced throughout. You use a gentle lift rather than a big swing. The ball receives just enough energy to clear the net. You keep the shot low and soft.
Your motion remains steady and controlled. You avoid any jerky or aggressive movements.
Gentle Follow Through
After you make contact with the ball, your follow through determines the shot’s quality. A gentle follow through keeps the ball low and controlled.
- Let your paddle continue its upward motion past the contact point.
- Stop your swing when your paddle reaches chest height.
- Keep your wrist relaxed throughout the entire motion.
- Maintain a slight upward paddle angle as you finish.
Common mistakes:
- Stopping abruptly after contact reduces control
- Using a pushing motion instead of lifting the ball
- Letting your paddle drop below net height
Practice this sequence until it feels natural. Your follow through completes the dink.
Focus on smoothness, not power.
A consistent follow through creates predictable, soft shots that land in the kitchen.
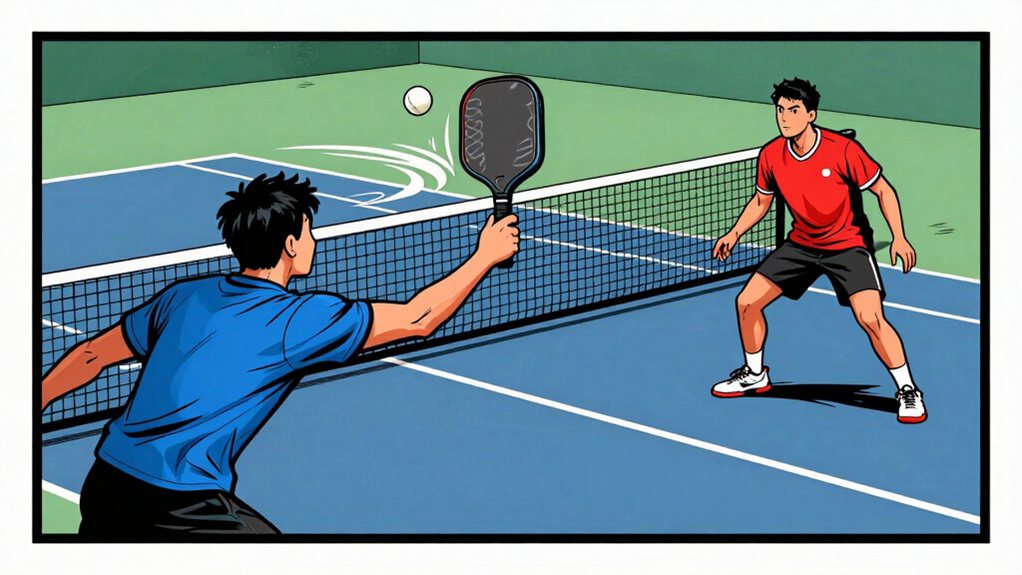
Dink Shot Types and When to Use Each
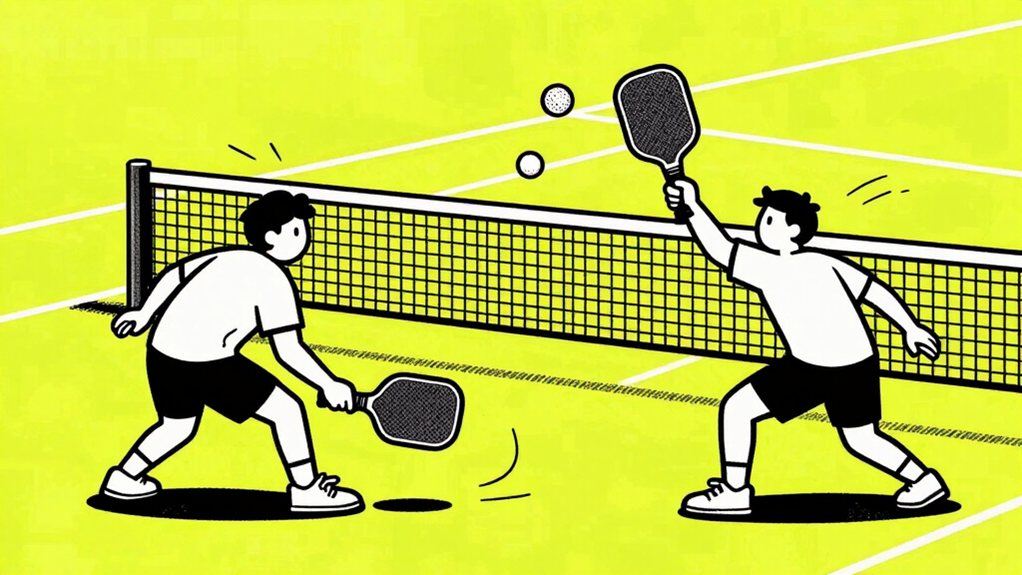
Why do we use different dink shots? Different dinks serve different purposes. You need variety to keep opponents guessing. Each type solves a specific situation.
Here are the main dink types:
- Straightaway dink – Hit directly ahead. Use it for warm-ups and basic control. It’s your default when simplicity matters.
- Cross-court dink – Aim toward the opponent’s sideline. Use it to pull opponents wide. This opens the court for your next shot.
- Dead dink – Deliver with no spin or pace. The ball lands shallow. Use it to reset the point and force a passive return.
- Offensive dink – Hit with purpose toward the kitchen line. Use it to pressure when opponents are out of position. Seize control and set up a winning shot.
- Spin dink – Use backhand or forehand with spin. This advanced technique adds movement and deception. Use it when you master basic dinking.
Strategic Shot Placement to Pressure Opponents
Now that you understand the different dink types, let’s examine how to place those shots strategically.
- Aim for the kitchen line. Shots landing near the NVZ force opponents upward. They can’t hit down with power.
- Target sidelines. Cross-court dinks near the sideline stretch your opponents. They must cover more ground.
- Vary your placement. Alternate straight and cross-court shots. This prevents opponents from anticipating your next move.
- Keep shots shallow. Deep shots give attackers time to prepare. Shallow placement maintains pressure.
- Watch positioning. If opponents stand deep, hit shorter dinks. If they crowd the net, aim for their feet.
Your strategic placement creates doubt. Opponents must react quickly. They often make mistakes under pressure.
Common Dink Mistakes and How to Fix Them
Two common dink mistakes ruin your touch and control. You apply the wrong grip pressure—either too tight or too loose—which eliminates feel.
You also make excessive swing motions instead of using short, compact pushes.

Weak Grip Pressure
Gripping the paddle too tightly is one of the most common dink mistakes. A death grip prevents you from feeling the ball’s pace. It locks your wrist. Locked wrists eliminate touch and control. Your shots become erratic and lack spin.
You need a relaxed grip pressure. Think of holding a small bird. You want to hold it firmly enough so it doesn’t fly away, but gently enough so you don’t crush it.
Apply these steps:
- Hold the paddle loosely at the start of each rally.
- Release tension from your fingers and forearm.
- Let the paddle do the work on contact.
- Maintain the relaxed grip throughout the rally.
A loose grip gives you better feel. It creates consistent, soft shots. Practice this daily until it becomes automatic.
Excessive Swing Motion
Another common dink mistake is using too much swing motion. You lose control when your swing exceeds what the soft dink requires. The dink is a push and lift, not a full swing.
Here’s how to fix it:
- Keep your swing compact and controlled.
- Use a short backswing of about 6 inches.
- Contact the ball in front of your body.
- Push the ball softly over the net.
- Let the paddle do the work, not your arm.
Your follow-through should be minimal. We want you to feel the difference between a swing and a push.
Practice this feel at least 20 times per session until it becomes natural. You’ll notice better placement and more consistent dinks.
Practice Drills for Dink Consistency
To build consistent dink shots, start with partner rallies at the non-volley zone line. Stand three feet from your partner. Keep rallies controlled and slow. Aim for ten consecutive dinks without missing.
This builds muscle memory and touch. Next, practice target placement. Place a bucket or cone in the kitchen. Hit five dinks at the target from each side. Focus on landing the ball short, near the net. Track your makes and misses.
Finally, add cross-court variations. Hit dinks diagonally to your partner. Work up to twenty continuous exchanges.
| Drill Type | Goal |
|---|---|
| Partner Rally | Build consistent contact |
| Target Practice | Improve placement accuracy |
| Cross-Court | Develop angle control |
Advanced Dink Techniques for Competitive Play
When you’re ready to advance your dink game, focus on adding spin variations to your shots. You must develop topspin, backspin, and sidespin to keep opponents guessing. Master these techniques:
- Brush up on the ball for topspin dinks that dive quickly.
- Slice underneath for backspin that floats and stops short.
- Angle your paddle for sidespin that pulls wide.
Add the offensive pressurized dink to your arsenal. Aim at the kitchen line with purpose. Hit at your opponent’s feet. Force the error.
Add the offensive pressurized dink to your arsenal—aim at the kitchen line, strike at their feet, force the error.
Vary your depth from 2 feet inside the baseline to the kitchen line. Watch your opponent’s positioning. Attack shallow returns. Control the point.
Practice each spin type for 50 reps daily. Build muscle memory. Play smarter. Win more.
Frequently Asked Questions
How Do I Know When to Switch From Dinking to Attacking?
You know to switch when opponents give you a weak, high return or position poorly. Watch for short balls landing in your attack zone. Spot these opportunities, accelerate your swing and take control of the point.
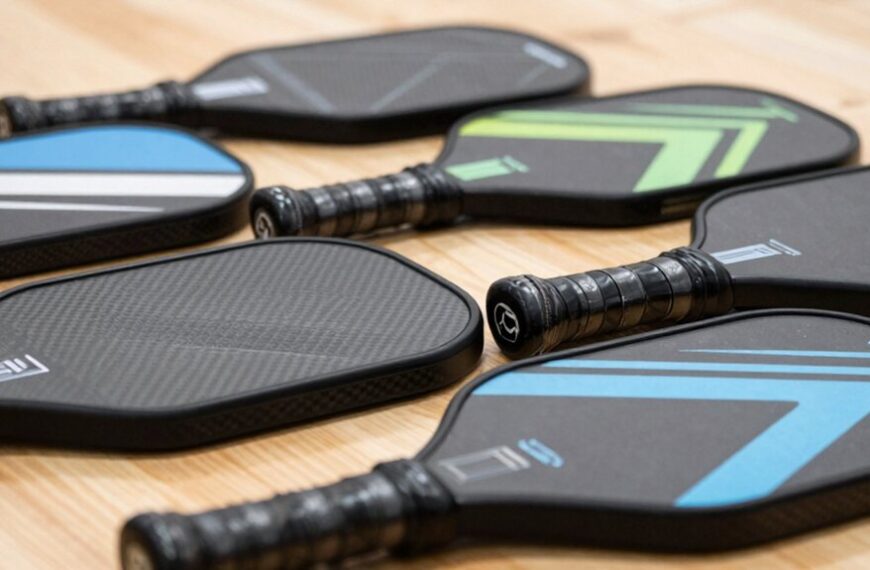
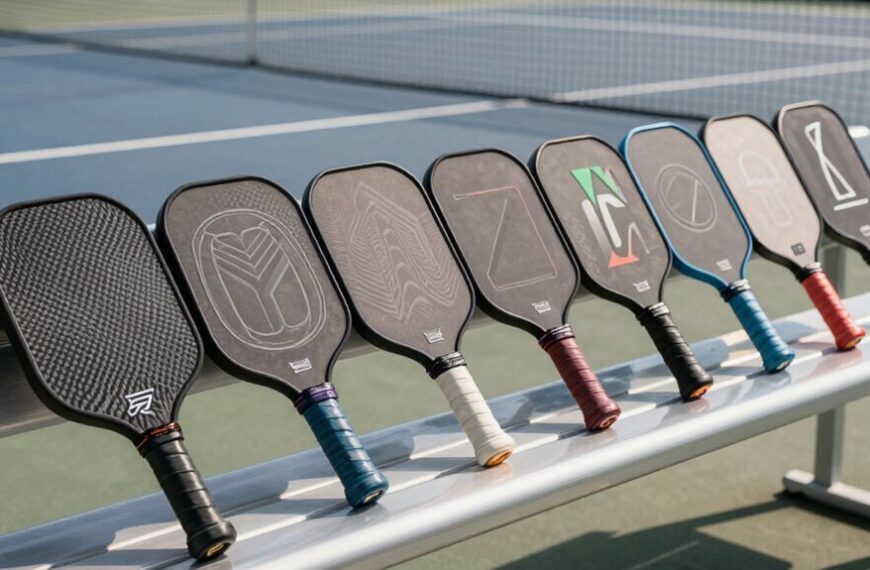
What Type of Paddle Is Best for Dinking?
You want a lightweight paddle with a soft feel. Look for graphite or composite faces with a thicker core. This gives you better touch and control for those delicate dink shots near the net area.
Can I Use a Dink on the Third Shot?
Picture your dink as a soft whisper to the ball; yes, you absolutely can use a dink on the third shot to control the pace, force errors, and methodically move yourself toward the net easily.
How Can I Improve My Dink Consistency in Windy Conditions?
Keep shots low over the net and land them closer to the kitchen line. Use a firm but relaxed grip, shorten your swing, and aim for deeper placements that resist wind interference.
What Footwork Drills Help With Fast Dink Exchanges?
Picture yourself gliding effortlessly, practice lateral shuffle steps while maintaining your ready position. Drill quick, small crossover steps toward the kitchen line, then explode back for balance. Repeat until movements become automatic, lightning-quick, and fluid-like.
Final Thoughts
Practice your dink daily. Set your paddle at 10,15 degrees open, keep a relaxed grip, and swing short and controlled. Aim for the deepest part of the kitchen. Watch your opponent’s stance and place the ball low.
Follow these steps: 1. Position paddle, 2. Use short swing, 3. Target deep NVZ. Repeat this routine in each practice session for best results every day. You’ll control the point surely, force errors, and dominate the non,volley zone.

ASSEMBLED DIMENSIONS: 38 in. L x 16 in. W x 24 in. H with 50 in. chains

Durable construction: The glider swing seat is proudly made in the USA from a durable HDPE plastic that is designed to withstand the outdoor elements