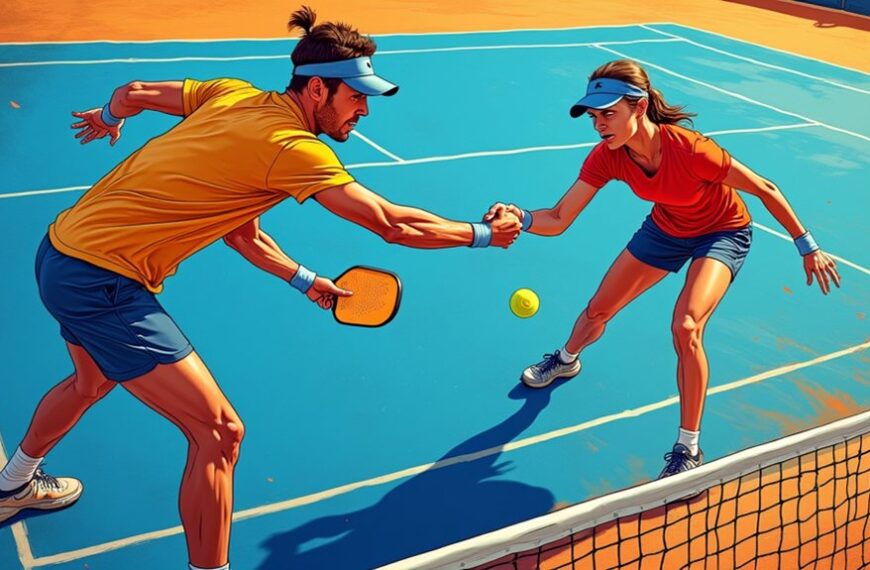
Video analysis transforms your padel technique by revealing flaws invisible to the naked eye. Set up your smartphone on a tripod at 3 to 4 feet high, positioned at court level. Film from behind the baseline for serves and forehands, and from the side for footwork. Record in 1080p or higher resolution using slow motion.
Capture 60-second clips from 2 to 3 angles. Review footage frame by frame to check wrist angle, foot placement, and swing path. Compare your form to professional players. Make one small adjustment at a time, then record again to confirm improvement. For even more detailed guidance, continue to explore additional padel technique resources.
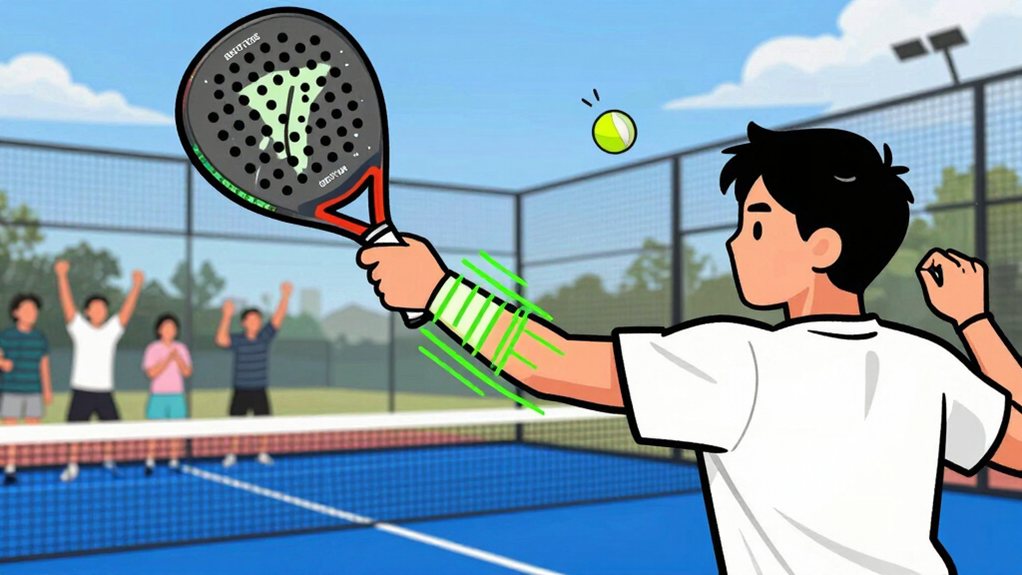
Why Video Analysis Transforms Your Padel Game
When you record your padel sessions, you reveal insights that your eyes can’t catch in real time. Video analysis transforms your game by showing exact wrist angles and foot placement errors you miss during play.
Video analysis uncovers the invisible: precise wrist angles and foot placement errors you miss during play.
Here’s what video analysis reveals:
- Frame-by-frame playback shows technique flaws you miss live
- Shot selection patterns become visible over time
- Partner coordination gaps appear clearly on screen
- Subtle weight transfers show in slow motion
We recommend these benefits:
- Compare footage before and after coaching
- Track improvement over weeks and months
- Measure shot speed changes with AI tools
- Document error reductions through repeated review
You achieve 97% accuracy in line-call tracking. Precise technical details enable focused, targeted skill development.
Camera Setup Guide: Simple Tools for Better Footage
With the right camera setup, you capture clear footage for accurate analysis. Place your smartphone on a tripod at court level. Angle it to show the full service box. Use a height between 3 and 4 feet for best results.
Your camera settings matter. Set resolution to 1080p or higher. Enable slow-motion mode if your phone has it. Check that lighting allows clear visibility of ball and player movement.
| Equipment | Purpose |
|---|---|
| Smartphone | Primary recording device |
| Tripod | Stable mounting platform |
| Extra battery | Extended recording sessions |
| Memory card | Storage for multiple clips |
Follow these steps before each session:
- Charge your battery fully
- Test recording angle
- Verify audio captures court sounds
- Clear storage space for new footage
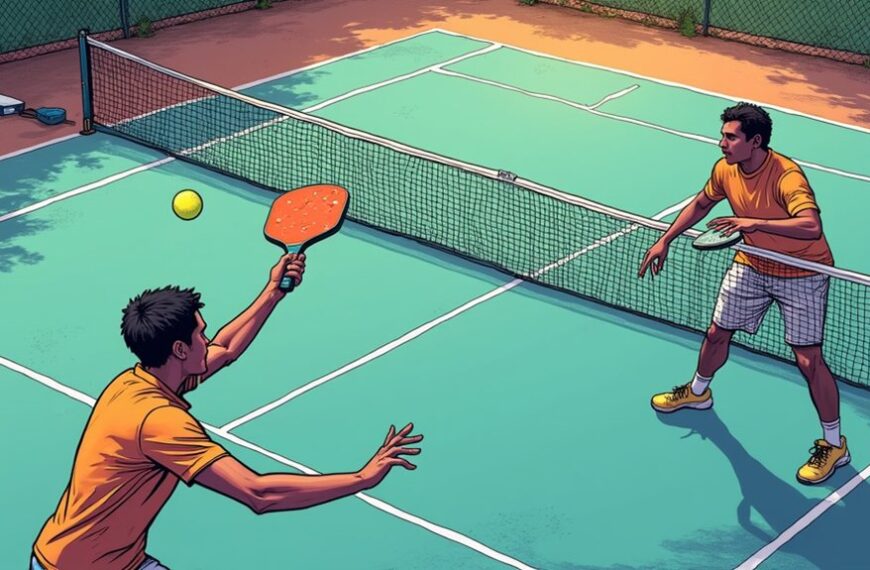
Recording Padel Shots: Best Angles and Session Length
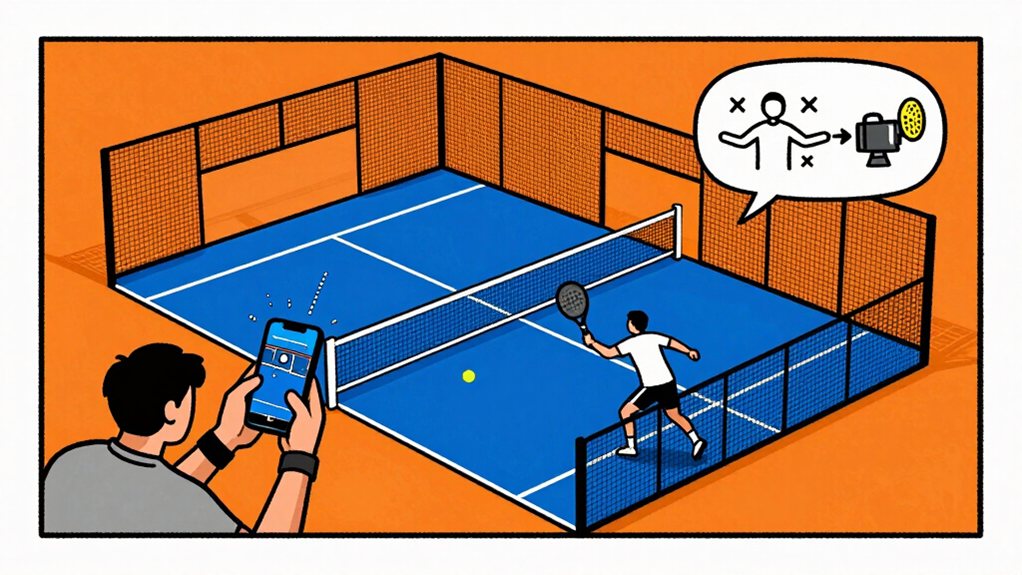
For accurate technique analysis, record your padel shots from 2-3 different angles during each session. We recommend filming each angle for 60 seconds to capture multiple repetitions.
Position your first camera behind the baseline to view your serve and forehand technique. Set your second camera on the side to check your footwork and body rotation.
Place one camera behind the baseline to capture serve and forehand form; set the other on the side to monitor footwork and body rotation.
Your third angle should face the net for volleys and smashes.
Film sessions lasting 3-5 minutes total. This timeframe gives you enough footage without exhausting your energy or attention. Review recordings immediately after filming while details remain fresh in your memory. An advanced smart router can support simultaneous video uploads from multiple cameras without lag or signal drops.
Use these angles for thorough coverage:
- Baseline angle for serve and groundstrokes
- Side angle for footwork and body mechanics
- Net angle for volleys and overhead shots
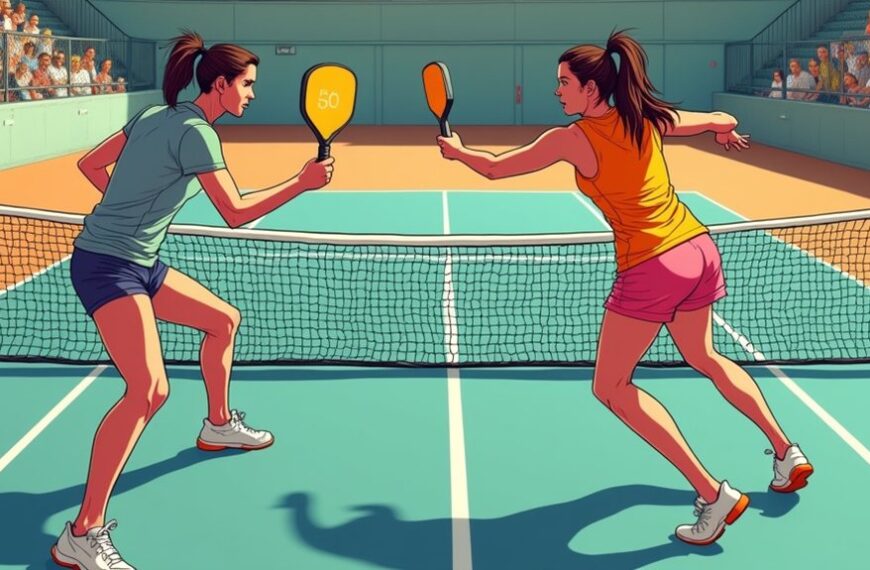
Spotting Technical Errors in Your Padel Video
Watch your padel video and you’ll see the technical errors we need to fix.
First, you examine the wrist angle—it’s neutral, not bent.
Next, you check foot placement, ensuring your front foot points toward the net, and then you trace the swing path to confirm it’s straight.
Identify Wrist Angle
During your video review, look closely at how your wrist bends at the moment of contact with the ball. The wrist acts as a hinge between your arm and the paddle. A proper wrist angle creates a stable paddle face at impact. If your wrist collapses backward, you lose control and power.
If it stays too rigid, you reduce your ability to generate spin. Check whether your wrist angle remains consistent across forehands and backhands. Watch for sudden changes in angle that indicate mistiming. Compare your wrist position to professional players for reference.
A slight extension of 15-30 degrees typically provides ideal control. You want to see a firm but flexible position throughout your swing.
- Consistent wrist angle improves accuracy on volleys and smashes
- Wrist collapse causes pop-ups and weak returns
- Video replay reveals angles you can’t feel during play
Check Foot Placement
Now examine your foot placement. Watch your feet during each shot. Look for these common errors:
- Wrong stance width, your feet should be shoulder-width apart
- Weight on the wrong foot, shift your weight to your back foot for forehands
- Late footwork, your feet must move before you swing
- Static positioning, you must adjust your feet for each shot
Check if your non-dominant foot points toward the net. This position helps you generate power. Watch for crossed feet during volleys. This error reduces your stability.
Count how many steps you take before each shot. You should take one to two quick steps for preparation. Replay your video three times. First, watch for foot placement. Second, watch for weight transfer. Third, watch for timing of footwork.
Analyze Swing Path
Your swing path reveals technical patterns that affect shot quality. When reviewing your padel video, pause at the moment of contact. Watch the club head travel toward the ball. Observe the angle of your wrist at impact.
We identify three common swing path errors:
- The club travels too far inside the target line
- The club reaches the ball from an overly flat position
- The follow-through cuts across the body instead of extending
Correct your swing path by practicing the take-back. We make sure the club traces a slight oval before meeting the ball. Film your practice sessions from behind the baseline.
Compare each take-back to professional players. This visual comparison fixes technical flaws quickly.
Measuring Improvement: Tracking Technique Over Time
The footage you capture becomes a roadmap for your improvement.
We use comparison to track your progress over weeks and months.
- Record the same shot weekly
- Compare form, footwork, and follow-through
- Note two or three specific changes per session
- Measure reduction in errors through repeated analysis
Your improvements appear in positioning, execution, and overall performance.
You visualize progress post-coaching sessions for motivation.
Track shot speeds and accuracy changes.
File recordings by date in labeled folders.
Create side-by-side comparisons every four weeks.
Your goal is seeing measurable change in technique and strategy.
You review progress before each new coaching session.
Consistent documentation shows where you improve and where you plateau.
Using Video Feedback to Fix Your Padel Technique
Video feedback helps you identify and correct wrist angle issues in your padel technique.
Record your shots using a smartphone on a tripod, then play back in slow motion to examine your wrist position at contact.
Compare your wrist angle to proper technique examples and make adjustments to avoid injury and improve shot accuracy.
Padel Technique Tips
By recording your padel sessions, you can identify technical flaws that are difficult to spot in real time. This method gives you an objective view of your technique.
Replay each shot and analyze your body positioning. Focus on your grip, stance, and swing path first. These elements form the foundation of consistent padel play.
- Check your grip pressure; maintain a relaxed hold on the paddle
- Verify your footwork; land with the inside foot first when moving forward
- Analyze your follow-through; make sure your paddle completes its motion naturally
Use the slow-motion feature on your phone. Pause at key moments. Compare your form to professional players. Make small adjustments one at a time.
Practice each change deliberately. Record again to confirm improvement. This systematic approach helps you develop reliable technique.
Focus on consistency over power. Your technique will become second nature with regular practice.
Correcting Wrist Angle
Fixing your wrist angle begins with capturing the right footage. Position your camera at court level, side on to your hitting zone. Record ten forehands and ten backhands in slow motion. Play footage back at frame-by-frame speed.
Look for these issues:
- Excessive wrist extension at contact
- Wrist collapsing on follow-through
- Inconsistent wrist position between shots
- Late wrist snap on serves
When you spot a flaw, pause the image. Compare your wrist position to professional players.
Practice the corrective drill for five minutes daily. Re-record after one week.
Measure your improvement by comparing the two clips side by side. Your goal is a neutral wrist angle at impact.
Frequently Asked Questions
How Much Does Professional Video Analysis for Padel Cost?
Professional padel video analysis typically costs between $50-$150 per session. You can choose basic reviews or get detailed match analyses. Smartphone recordings don’t raise your costs much while you receive detailed breakdowns for your game.
How Often Should I Record My Padel Sessions for Optimal Improvement?
Because obviously watching yourself is everyone’s favorite hobby, but record your padel sessions weekly. Capture 1-2 minutes from 2-3 angles using your smartphone. Review monthly with your coach to track measurable progress.
What Privacy Concerns Should I Consider When Uploading Padel Videos Online?
You should consider blurring bystanders’ faces, removing location data from files, avoiding filming children, checking platform terms, and limiting court details to protect your and others’ privacy.
Can Video Analysis Help Prevent Injuries in Padel Players?
Yes, video analysis helps prevent injuries by revealing improper wrist angles, foot placement, and swing mechanics that cause strain. You’ll identify harmful movement patterns early, correct body alignment, and protect your joints during intense play.
How Do I Choose the Right Video Analysis App for My Skill Level?
Like choosing the right paddle, select apps matching your skill tier, beginners need simple recording tools, intermediate players require slow-motion breakdown, and advanced athletes benefit from AI analytics.
Final Thoughts
Transform your padel game immediately with consistent video analysis. Record 2-3 sessions weekly, review within 24 hours, and apply one change per session. Focus on three key areas: footwork, swing path, and follow-through.
You will notice dramatic improvements in accuracy, power, and consistency within just 30 days. Start today because your rivals keep training while you stand still. Your technique demands immediate, focused action now.