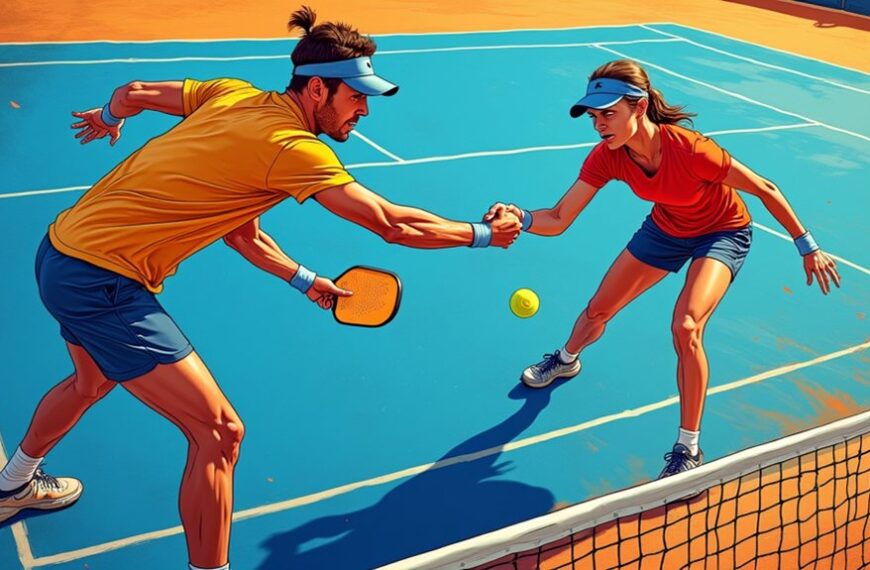
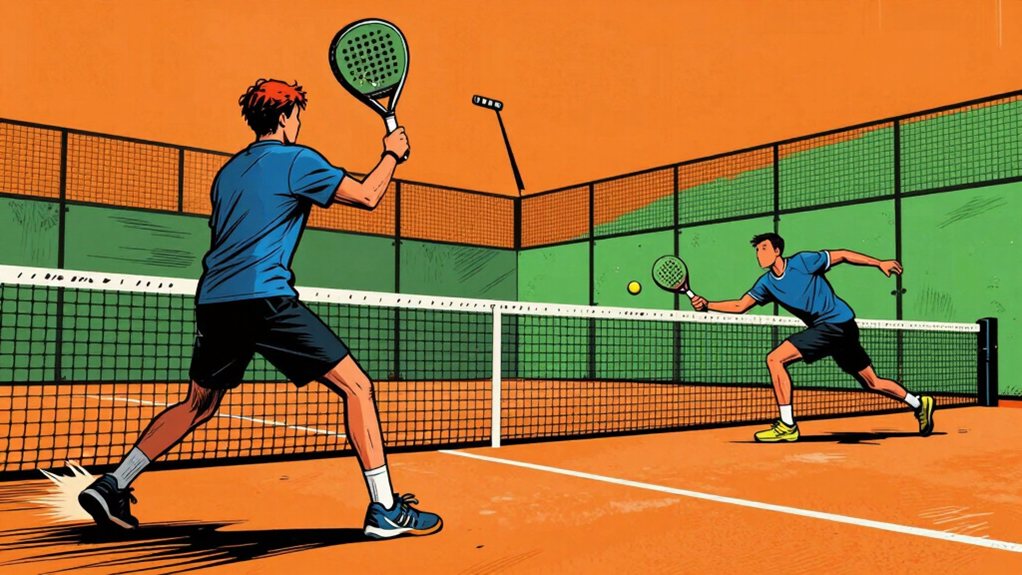
Your defensive padel net position fails because you neglect ready position fundamentals. We stand 1.5 to 2 meters from the back glass and 3 to 4 meters from the net.
You must bend your knees, keep weight on your balls of your feet, and split step within 0.3 seconds of reading your partner’s movement. Watch your opponent’s racket face angle, body weight shift, and grip changes to anticipate shots. If you continue with these adjustments, you’ll improve your net play.
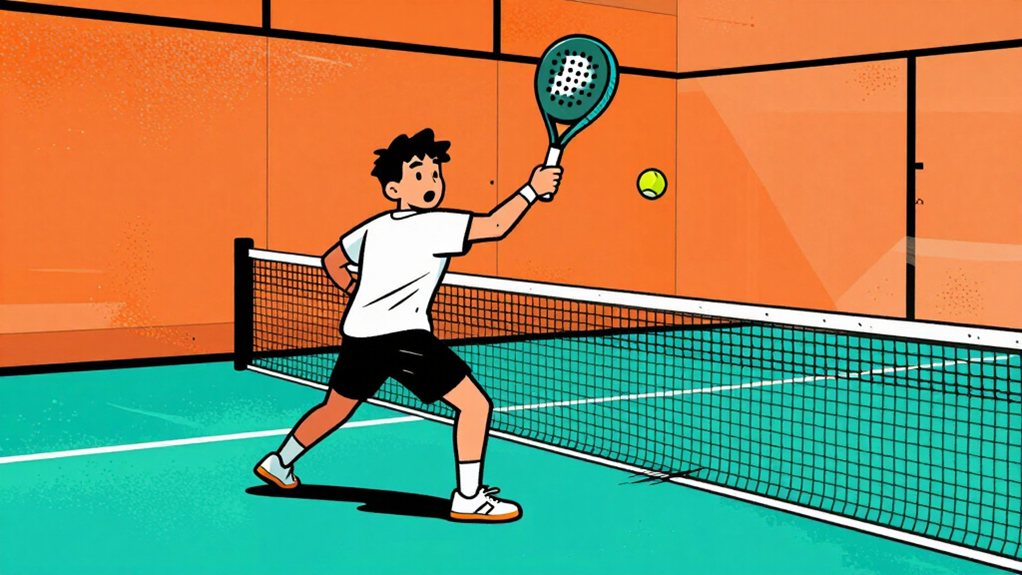
Master the Ready Position for Faster Reactions at the Net
Adopt the correct ready position before each shot to maximize reaction speed. Your body posture directly impacts how quickly you respond to incoming balls.
Adopt correct ready position before each shot; body posture directly impacts reaction speed to incoming balls.
Follow these steps:
- Keep your feet shoulder-width apart.
- Bend your knees slightly.
- Hold your racket at chest height.
- Keep your weight on the balls of your feet.
- Split step just before your opponent contacts the ball.
- Stay on the balls of your feet.
- Keep your eyes on the ball at all times.
- Avoid standing flat-footed.
- Return to ready position after every shot.
This position allows faster lateral movement. It helps you reach shots to both sides.
It prepares your racket for quick volleys. Practice this stance until it becomes automatic.
Find Your Optimal Defensive Zone for Better Court Coverage
Finding your ideal defensive zone means standing at the right distance from the net and back glass to cover the most dangerous angles while staying ready to move.
- Position yourself 1.5 to 2 meters from the back glass. This distance lets you handle rebound shots and lobs effectively.
- Stand 3 to 4 meters from the net. You cover both crosscourt and down-the-line shots from this point.
- Keep your feet shoulder-width apart. Slightly bend your knees to maintain balance and quick reaction ability.
- Angle your body diagonally toward the center of the court. You track both opponents effectively.
- Move to either side with minimal steps. You maximize coverage and reduce recovery time.
- Your defensive zone becomes your strongest asset on the court.
Just as indoor air quality affects your focus and stamina during long matches, your defensive positioning directly impacts how well you perform under pressure.
Read Opponent Cues to Anticipate Their Next Shot
Reading your opponents’ cues helps you predict their next shot before they strike it. Watch their racket face angle. It tells you where they aim.
- Track their body weight shift. Lean forward means drive. Lean back means lob.
- Observe grip changes. Continental grip often signals overhead. Eastern grip suggests groundstroke.
- Note their foot position. Open stance often hides power. Closed stance shows control.
- Listen to their breathing. Quick exhale often precedes aggressive swing.
Study these patterns during practice. You’ll read shots one step ahead. Quicker reactions follow. Your defensive net position improves.
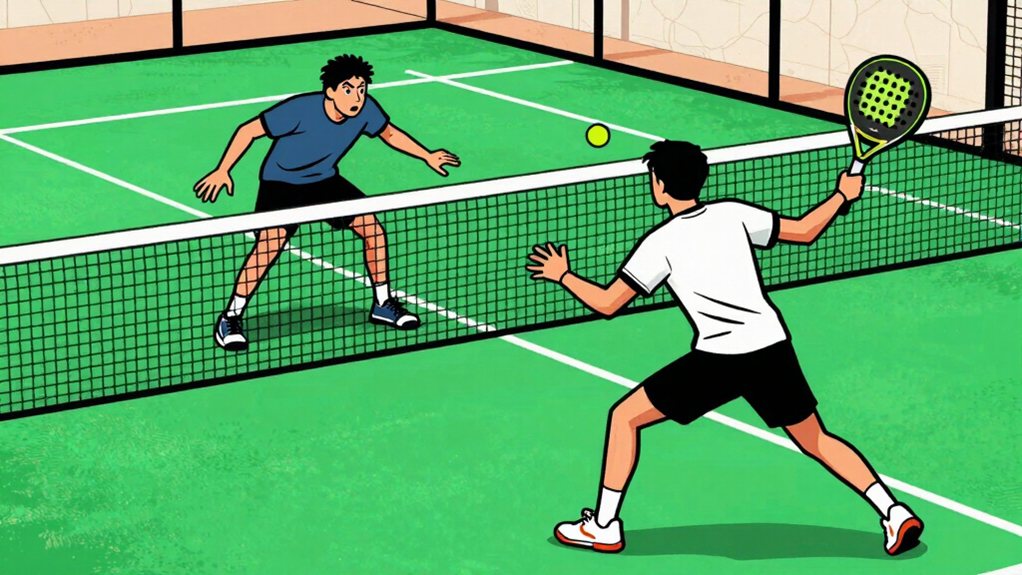
Coordinate With Your Partner to Close Coverage Gaps
Use these three key actions: synchronize movement patterns, call out gaps as they appear, and maintain net spacing of 1.5 to 2 meters apart.
You reduce vulnerabilities when you work as a coordinated unit.
Synchronize Movement Patterns
When you and your partner move as one unit, you eliminate the middle gaps that opponents love to exploit. Synchronize your steps during each rally. When one player advances, the other must adjust position accordingly.
- Take your first step within 0.3 seconds of reading your partner’s movement direction.
- Maintain a lateral distance of 1.5 to 2 meters from your partner at all times.
- Move together toward the ball’s expected path as a connected pair.
- Recover to ready positions simultaneously after each shot.
Your synchronized movement pattern creates consistent court coverage. You prevent opponents from finding open spaces.
Practice this coordination until it becomes automatic.
The unified approach transforms defensive weaknesses into solid wall-like defense.
Call Out Gaps
Shout potential defensive vulnerabilities the moment you identify them. Communication saves your point. Call out every gap before your opponent exploits it. Use clear, short phrases your partner understands instantly. Point to the space and name the threat.
- Identify middle court openings between you and your partner. Say “middle” to alert your teammate to shift coverage.
- Spot lob trajectories that expose your back glass position. Warn “lob” so your partner prepares for overhead.
- Recognize when your positioning drifts too far from the net. Call “step up” to prompt forward movement and restore defensive pressure.
Close gaps immediately after calling them. Your partner can’t respond to silent expectations.
Maintain Net Spacing
As you identify defensive gaps through calls, you must simultaneously maintain proper net spacing to close those openings.
- Keep 1.5 to 2 meters from net when in ready position.
- Adjust spacing based on opponent position and ball trajectory.
- Maintain triangular formation with your partner at all times.
- Shift laterally as a unit when opponents change hitting zones.
- Don’t drift more than 3 meters from your partner’s lateral position.
- Use verbal cues like “shift left” or “tighten” for immediate adjustments.
- Hold racket at chest height while maintaining knee bend and active stance.
- Recover to proper spacing within one second after each shot.
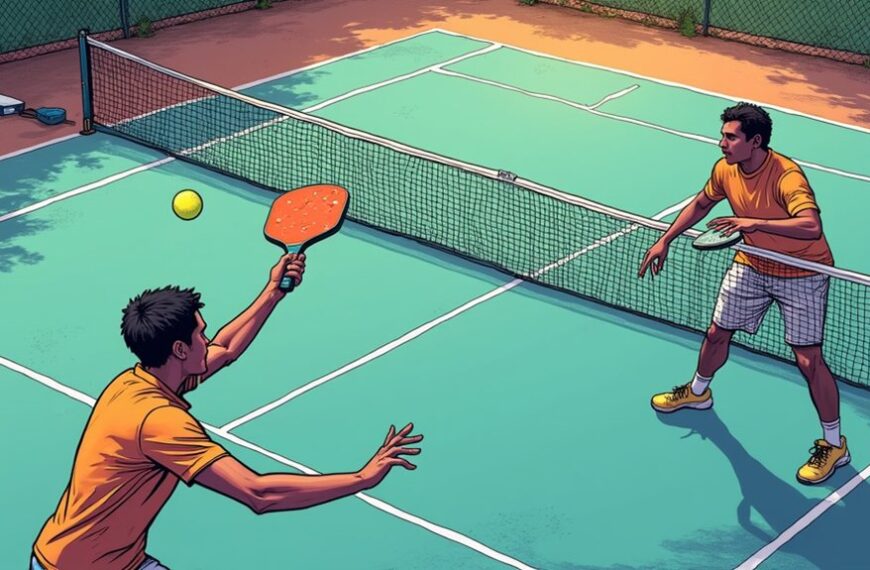
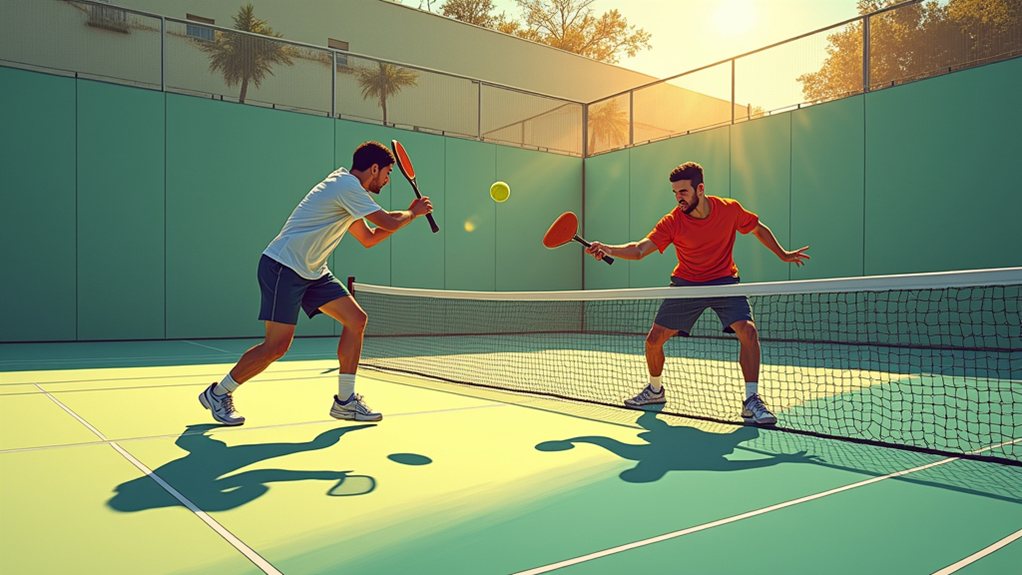
Choose the Right Shots When You’re at the Net
When you’re at the net in padel, you must choose shots that keep you in control and force your opponents into difficult positions.
Prioritize high percentage shots like lobs and deep volleys, because these reduce your opponent’s attacking options.
You also target open court angles by observing where your opponents stand and hitting the ball to the opposite side of the court.
Prioritize High Percentage Shots
Because net positioning gives you the advantage, you must choose shots that keep that advantage. When you’re at the net, your primary goal is maintaining control.
You’re not looking for flashy winners. You’re looking for shots that force errors from your opponents while keeping you in a strong defensive position.
Play the percentages. Hit to the deeper player when possible. Keep the ball low and directed at your opponent’s feet. Avoid high lobs that give your opponents time to recover.
Your net positioning means you have the upper hand, but only if you respect the fundamentals of high-percentage play.
- Crosscourt volleys pull opponents wide and open the court for your next shot.
- Down-the-line shots pin your opponents to the baseline and limit their options.
- Drop shots force your opponents forward and disrupt their defensive setup.
Target Open Court Angles
Your positioning at net gives you the power to direct shots into open spaces. Identify the largest gap in the opponent’s coverage before you strike. Hit toward the side farthest from the nearest defender. Angle shots away from the opponent’s strong hand.
- Scan the court before your opponent’s second bounce.
- Aim for the corner furthest from the nearest player.
- Keep shots low to force upward returns.
- Hit diagonal volleys to stretch opponent positioning.
- Avoid hitting cross-court to a player moving forward.
- Target the space between two opponents when they mismatch.
We create pressure by placing balls where defenders can’t reach. You force errors when you exploit open angles consistently.
Execute Net Rushes With Proper Timing and Pace
Always wait for the best moment before rushing the net, or you’ll gift your opponents an easy passing shot. Your net rush must coincide with a weak return or forced defensive reply. Hit your volley with controlled pace, aim for 70% power on approach shots to keep the ball low and force errors.
Rushing too early gives attackers time to set up lethal passing shots or lobs.
Rushing too early gives opponents the chance to set up lethal passing shots or lobs.
- Watch for opponents hitting from below knee height or stretching beyond their comfort zone.
- Move forward the instant your opponent commits to a weak shot, not after they recover.
- Place your volley deep in the corners or at your opponent’s feet to limit their options.
Recover Quickly After Hitting From the Net
After you’ve executed a net rush and hit your volley, you must recover immediately or you’ll be vulnerable to a passing shot. Your recovery determines whether you maintain the attacking advantage or concede the point.
Recovery Steps:
- Take 2 quick steps back toward the service line after contact
- Split step within 1 second of your opponent’s swing
- Keep your racket at chest height as you retreat
- Scan the ball and opponent for shot direction
- Adjust your position laterally based on ball trajectory
Key Recovery Positions:
| Time Frame | Position | Action Required |
|---|---|---|
| 0-1 second | Contact point | Step back 2 feet |
| 1-2 seconds | Mid-recovery | Split step preparation |
| 2-3 seconds | Service line | Ready for lob or drive |
| 3-4 seconds | Baseline area | Track deep shots |
| 4+ seconds | Full court coverage | Maintain balance |
Avoid these common errors: standing flat-footed after volley, delaying your split step, failing to track the ball, and remaining stationary. Practice recovery patterns until they become automatic.
Use Tactical Positioning to Dominate the Point
When you control the net position strategically, you force your opponents into difficult decisions. We dictate the pace. We cut off angles. We close the court.
Move to the net within one second of the return. Stand about 2 meters from the baseline to block lobs. Use a split step just before the opponent strikes the ball.
- Step forward 0.5 meters as the opponent prepares, cutting the passing lane and forcing a defensive lob.
- Shift your body weight left or right to open the diagonal angle, making the opponent guess which side you’ll attack.
- Keep your racket chest high and your knees bent, ready to snap a poach or drive the ball deep.
Apply these steps every point. Your net dominance will grow.
Frequently Asked Questions
What Strength Exercises Improve My Stability at the Net?
You benefit from squat jumps, single-leg balance holds, lateral lunges, dead bugs, and medicine ball rotational throws. These build leg strength, core stability, hip flexibility, and ankle stability for explosive net quick reactions and agility.
How Do Mental Focus Techniques Affect Defensive Net Positioning?
Mental focus techniques sharpen your defensive net positioning by improving anticipation, reducing reaction time, and helping you maintain proper spacing. You stay alert to opponent cues, recover faster, and position yourself effectively.
Which Racket Features Help With Quick Net Reactions?
Pick a perfectly balanced, lightweight paddle with responsive racket resonance and reinforced rim stability. You’ll need a comfortable grip circumference, flexible shaft, and balanced swing weight to flick quickly at the net for fast reactions.
How Can I Adapt My Net Stance to Windy Courts?
Lower your stance, widen your feet, and bend your knees to anchor yourself. Keep your racket lower and shorten your backswing to control wind-affected balls. Anticipate gusts, stay balanced, and react quickly to maintain your position.
What Common Myths About Defensive Net Positioning Should I Ignore?
Ignore these myths: closer to net always wins, staying static improves control, centering yourself eliminates angles, footwork at net doesn’t matter, and forward positioning alone guarantees dominance. Your ready position and movement determine effectiveness.
Final Thoughts
1. You’re keeping your feet shoulder,width apart, knees bent, racket up. 2. Stay 1,2 m inside baseline, angled toward the center. 3. We watch the opponent’s racket angle and hip rotation for cue detection. 4. Call “switch” with your partner when coverage gaps appear. 5. Hit a low drive or volley, then step back 0.5 m to recover. Are you ready to tighten your defensive net position and dominate the point in every rally and every match?