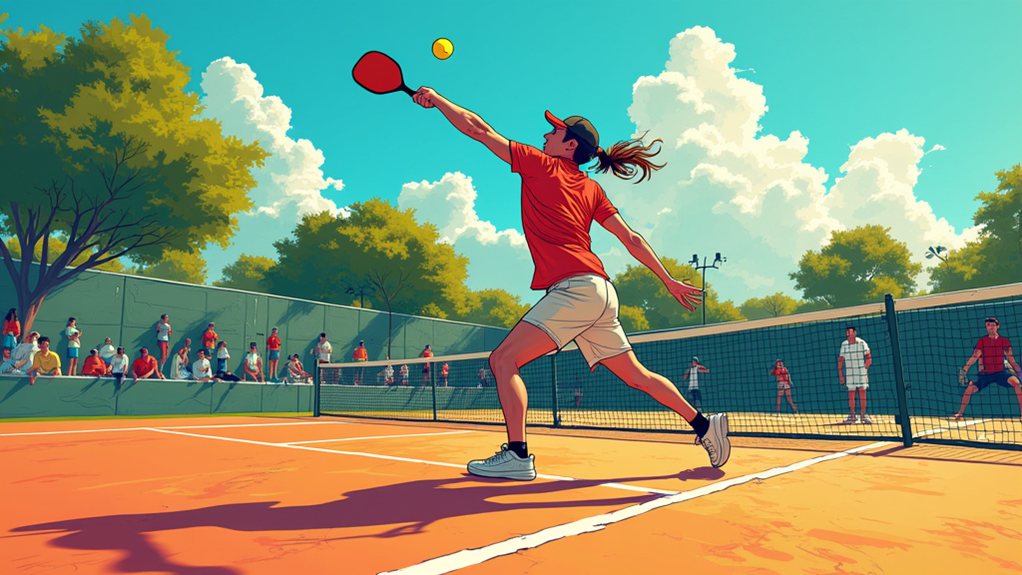
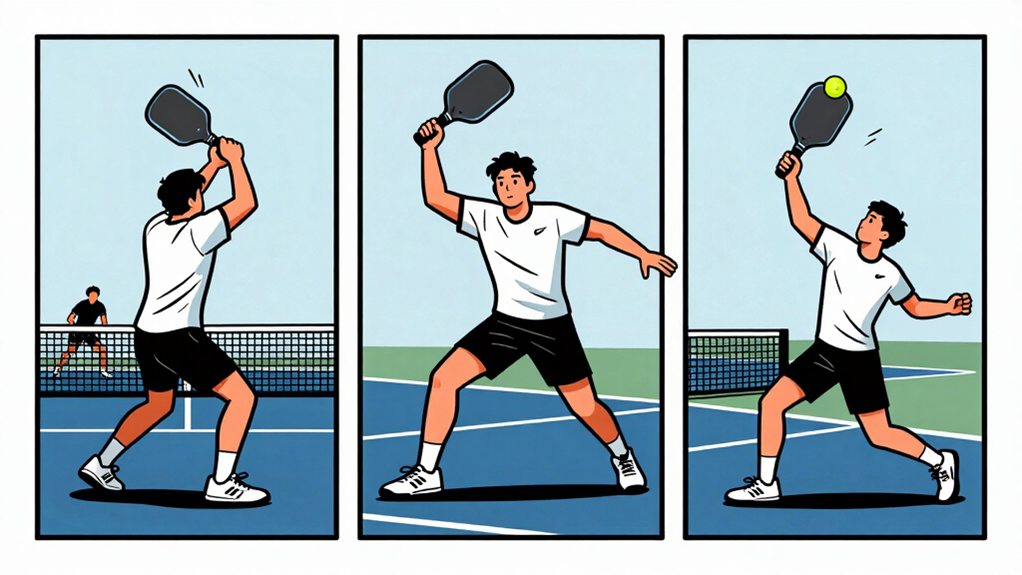
To execute a powerful overhead smash, start with feet shoulder-width apart and perform a split step when your opponent contacts the ball. Shift weight onto your front foot, then pivot and step backward before moving forward through the ball. Rotate your hips first while keeping shoulders closed, then release that coil through shoulder rotation.
Extend your arm fully at contact, which should occur just in front of your body at peak height. Bring your paddle down across your opposite hip on the follow-through. Practice 10-15 shadow swings daily to build muscle memory before adding speed. You’ll learn more advanced techniques as you progress.
What Is the Overhead Smash in Pickleball?
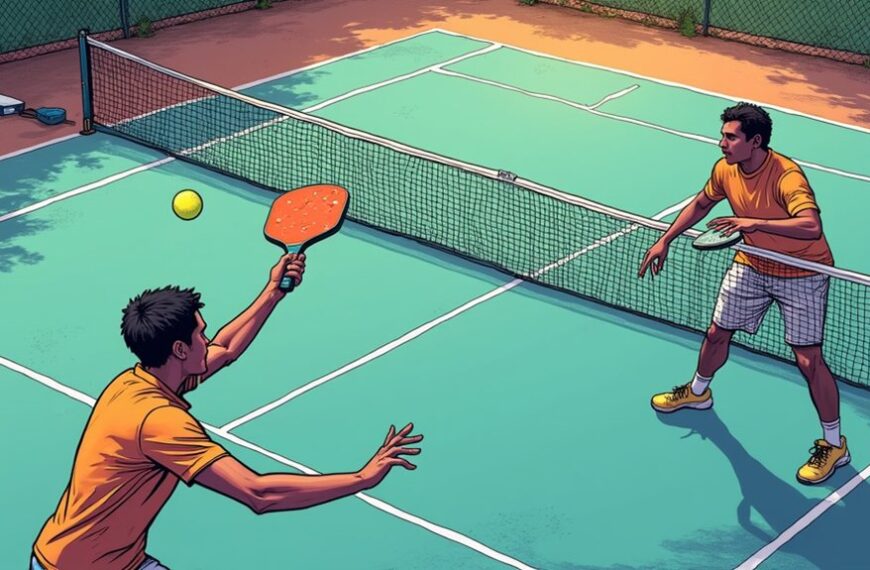
The overhead smash is the most powerful offensive weapon in pickleball. It drives the ball downward at high speed, forcing your opponent into a difficult return. When you learn how to smash in pickleball, you gain a shot that ends points decisively.
The pickleball overhead technique involves striking the ball above your head. You contact it at peak height, driving it downward into the court. This creates a steep angle that limits opponent reaction time.
Key characteristics of the pickleball overhead smash:
- You strike the ball at its highest point
- Your paddle moves downward through the ball
- You generate power from shoulder rotation and core engagement
- The ball travels at steep angles into the opponent’s court
This shot differs from standard overheads in other racquet sports. The pickleball overhead smash prioritizes placement and angle over raw power. You control the ball’s trajectory by adjusting your paddle face and swing path.

COMPLETE PICKLEBALL SET — USAPA APPROVED Everything you need to start playing immediately. Includes 2 USAPA approved paddles, 4 high-quality pickleballs, and a durable carry bag. Tournament-legal and ready for recreational or competitive play — no extra purchases required.

Stance Setup: Getting in Position to Smash
We get into position early, and you’re ready with your feet shoulder‑width apart for a stable base.
You perform a split step—a hop on the balls of your feet—when the opponent contacts the ball, then shift your weight onto your front foot.
This early foot placement, split‑step timing, and weight shift give us the solid foundation we’ve built for a powerful smash.
Early Foot Placement
When you recognize an overhead is coming, begin moving into position immediately. Your feet must move before you attempt to strike the ball. Getting there early prevents reaching, which compromises your swing mechanics.
Key foot placement steps:
- Pivot away from the ball rather than backpedaling.
- Take a small step backward, then step forward through the ball.
- Land with your weight on your front foot.
- Create a throwing-like motion with your feet.
Your footwork mimics a quarterback’s throwing stance. Multiple steps allow you to set your body properly. Early positioning creates a stable base for maximum power transfer.
Split Step Timing
Mastering split step timing prepares your body for explosive movement toward the ball. The split step is your reset point before moving in any direction.
Here’s how to execute it:
- Hop lightly as your opponent makes contact with the ball
- Land on the balls of your feet with knees slightly bent
- Keep your weight centered and ready to push off
- Split step timing should occur within split seconds of contact
You can practice this without a ball first. Land softly. Stay balanced. Your feet should feel springy and prepared.
Common timing errors:
- Starting too early
- Landing flat-footed
- Split stepping after the ball has already passed
Correct timing ensures you explode toward the ball rather than hesitating.
Weight Shift Basics
Before you shift your weight for an overhead smash, you must establish a solid stance. Your feet should shoulder-width apart.
Keep your knees slightly bent. Distribute your weight evenly across both feet.
This position creates a stable base for power generation.
- Start with feet hip-width apart
- Bend your knees to about 25 degrees
- Shift your weight to your back foot
- Load your weight on the inside of your back foot
- Keep your torso upright but relaxed
When you prepare to swing, transfer your weight from the back foot to the front foot. Your hips should rotate forward.
This weight transfer creates the foundation for a powerful overhead smash.
Practice this movement slowly at first. Speed up only after the motion feels natural.
Footwork Patterns That Get You to the Ball
Positioning yourself correctly depends on how you move toward the ball. The split step starts your movement.
- Perform a hop on the balls of your feet as your opponent strikes the ball.
- This hop lets you change direction toward the incoming ball.
- Take a pivot step rather than backpedaling to avoid tripping or falling.
- Move backward first, then forward through the ball like a throwing motion.
- Use multiple steps to set your stance like a quarterback preparing to throw.
- Get into position early so you don’t have to reach for the ball.
- Reaching compromises your swing and causes injuries.
- Your feet must move before your paddle swings.
- Proper footwork keeps you balanced and ready.
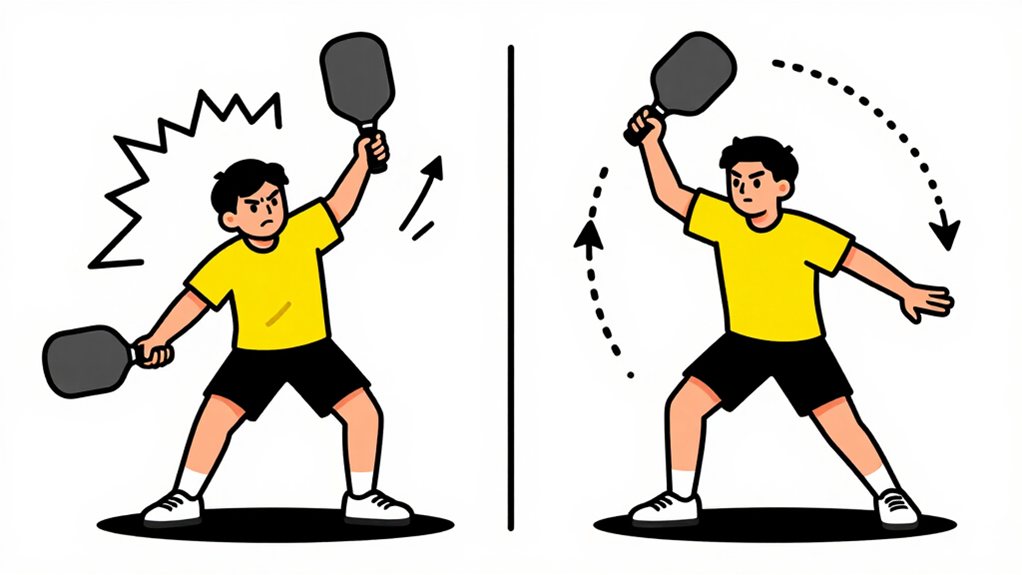
How Body Rotation Powers Your Smash
Your body’s rotation creates the power behind your smash through core coil mechanics.
When your shoulders rotate independently of your hips, you generate a coiling motion that stores energy.
This separation between upper and lower body lets you release maximum force at the point of contact.
Just as premium home security systems use layered technology to maximize protection, combining hip and shoulder rotation creates a multi-layered force that amplifies your smash power.
Core Coil Mechanics
Coiling your body creates the spring-like tension that releases power into your overhead smash. You must engage your core muscles to create this coil. Rotate your hips away from the ball first. Your shoulders should stay closed. This separation between your upper and lower body builds potential energy.
When you reverse the motion, energy transfers into your paddle. Practice the coil without hitting the ball. Feel the tension in your abdominal muscles.
| Phase | Body Action | Power Result |
|---|---|---|
| 1 | Hip rotation initiates coil | Potential energy builds |
| 2 | Shoulders stay closed | Tension stores in core |
| 3 | Arms separate from body | Maximum leverage created |
| 4 | Uncoiling reverses motion | Energy transfers to ball |
Keep your core tight. Let the coil drive your smash.
Shoulder Rotation Power
Shoulder rotation transfers the energy from your core coil into racket speed. This rotation happens after your core initiates the movement. Your shoulders turn to face the net as you swing.
Follow these steps:
- Let your shoulders rotate naturally with your core coil.
- Keep your paddle arm loose during this rotation.
- Allow your shoulders to open toward the target at contact.
- Snap your shoulders through the ball for maximum power.
- Your non-paddle hand points at the ball throughout contact.
The rotation adds velocity to your paddle. It creates a whipping motion through your arm.
Practice this rotation without a ball first. Build the feel before adding power.
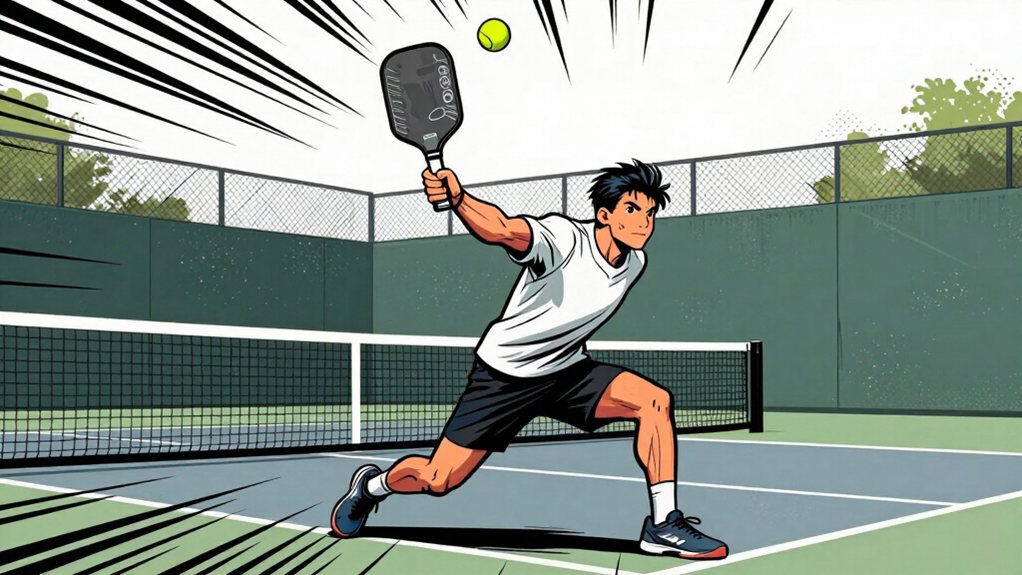
Arm Extension and Contact Point
When you strike the ball, extend your arm fully and make contact just in front of your body. This position generates maximum pace and control. Your arm must be completely straight at the moment of contact. Don’t bend your elbow.
- Hit the ball at its highest point.
- Keep your arm fully extended when you make contact.
- Position the ball slightly in front of your body.
- Point your non-paddle hand upward to track the ball.
- Keep your head still during contact.
These actions prevent mistiming and swing errors. Your body creates a straight line from your feet through your extended arm to the ball.
Practice hitting with full arm extension on every shot. This builds muscle memory for consistent power.
Key points to remember:
- Arm straight at contact
- Contact in front of body
- Head remains still
- Non-paddle hand tracks ball
Master these elements for effective overhead smashes.
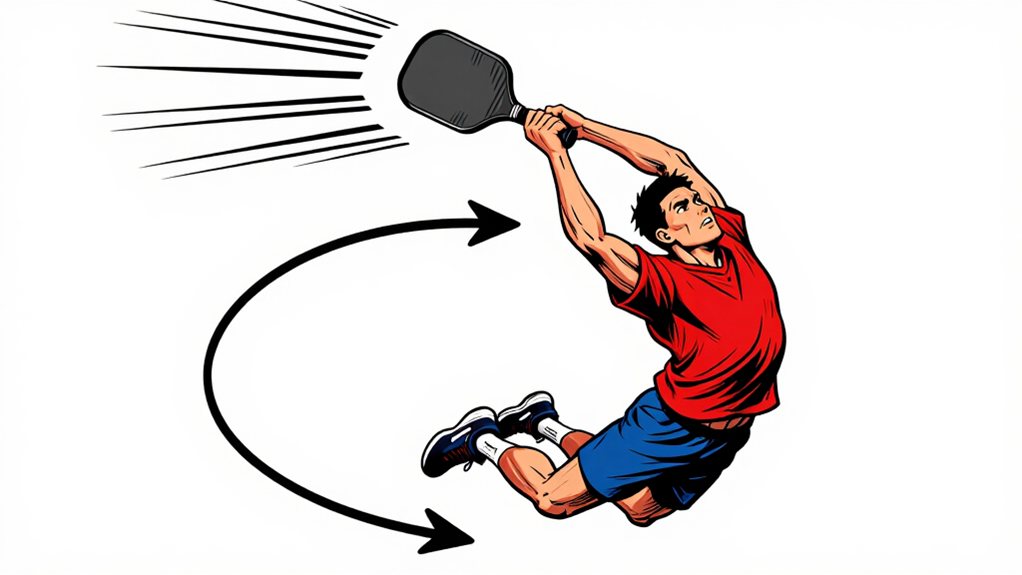
The Follow-Through: Finishing Your Shot
Completing your follow-through transfers your body momentum into the shot.
Let your paddle continue its path across your body. Bring your paddle down to rest on the opposite hip. This guarantees you generate maximum pace.
Your arm should fully extend at contact, then naturally fall across your body. Don’t stop your swing early. Stopping reduces power and accuracy.
- Let your swing complete naturally across your hip
- Keep your wrist loose but controlled
- Point your paddle toward the ground after contact
- Maintain your body rotation through the finish
The follow-through locks in your paddle angle and timing.
It prevents wrist flicks that weaken your shot. Practice completing this motion every time. Your consistency improves when you finish your swing fully.
Practice Drills to Build Consistent Mechanics
You build consistent overhead smash mechanics through two critical practice methods. First, shadow swing practice lets you rehearse the motion without a ball, focusing on form before adding power. Second, targeted placement drills help you develop accuracy by aiming at specific points on the court.
Shadow Swing Practice
Shadow swings without a paddle or ball build proper overhead smash mechanics before you add power.
Stand in your ready position. Lift your arms into the V-shape. Rotate your shoulders and core. Extend your elbow back. Simulate the upward climbing motion. Bring your arm down across your opposite hip.
Repeat this pattern 10-15 times per set.
Complete 3-4 sets daily.
Focus on proper form at each step.
Feel the separation between your upper and lower body. Notice the coiling motion in your core.
Your non-paddle hand should point upward throughout the motion.
Keep your head still at contact.
Practice in front of a mirror if possible.
Film yourself to check alignment.
Each repetition builds muscle memory.
Quality matters more than quantity.
You’re training consistency before you add speed.
Targeted Placement Drills
Ready to test your form with target drills? Place cones or towels in the changeover zone at three distinct spots. Aim at each target for 10 to 15 successful hits before moving to the next. Focus on placement first, not power.
Add speed only after you consistently hit your targets. Step into each shot using proper footwork. Keep your non-paddle hand pointing at the ball throughout. Follow through across your opposite hip on every swing.
| Drill | Repetitions | Target Zone |
|---|---|---|
| Corner Shot | 10-15 reps | Left and right |
| Deep Court | 10-15 reps | Baseline area |
| Down-the-Line | 10-15 reps | Center line |
| Angle Play | 10-15 reps | Sideline corner |
Track your results in each session. Consistent targeting builds muscle memory. Power follows precision over time.
Common Form Mistakes and How to Fix Them
One of the most frequent mistakes players make involves poor positioning and footwork. You often backpedal instead of pivoting, which causes trips and falls. We fix this by stepping backward then forward through the ball, similar to a quarterback’s throw.
Another common error is reaching for the ball. When you reach, your swing breaks down and you lose power. Get into position early so you can swing comfortably without stretching.
You also need to avoid straight-arm swings. Extend your elbow back before contact to generate maximum velocity. This coiling motion creates the power you need.
Keep your non-paddle hand up to track the ball. Point it toward your target throughout the swing. This balance helps your timing.
Finally, don’t focus on power until your placement is consistent. Master these fixes first.
Progressing From Placement to Power
Once your placement is consistent, you can begin adding power to your overhead smash. We focus on placement first because it builds muscle memory and proper technique. You shouldn’t just add speed until your form stays consistent.
Here’s your progression path:
- Hit 10 successful placement shots in a row before adding power
- Increase swing speed by 10% increments
- Focus on core rotation to generate force
- Let your legs drive the power, not just your arm
- Practice with purpose: 20 power smashes per session
You must maintain form while adding speed. If your accuracy drops, reduce speed and rebuild consistency. Power without control wastes your best offensive weapon.
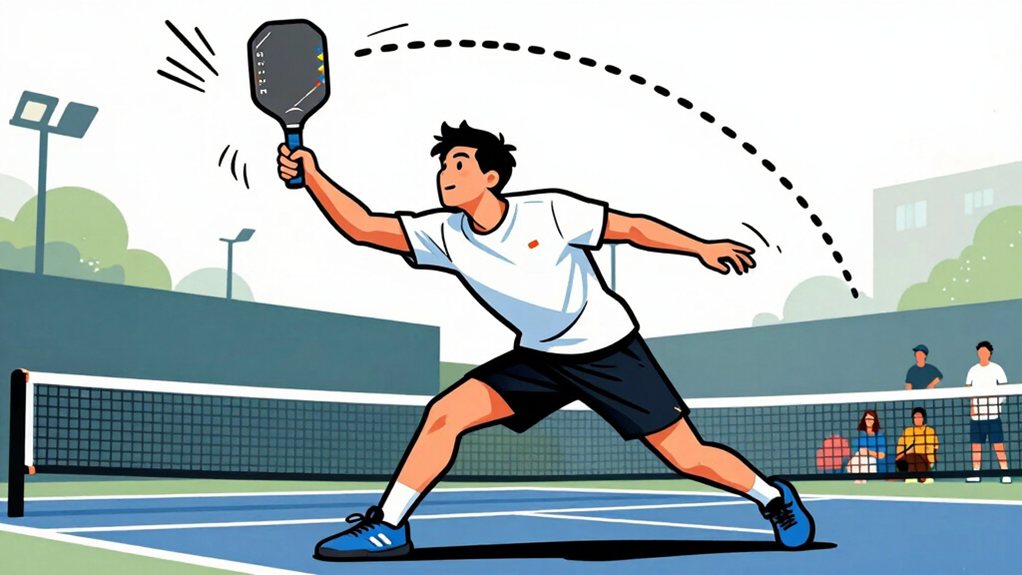
Adapting Your Smash for Different Court Situations
When you’re facing different court situations, you must adjust your smash technique to maintain effectiveness. Here are key adjustments:
- Near the net: Shorten your swing. Contact the ball closer to your body. Reduce power. Focus on placement. Aim for corners.
- Deep in the court: Take a full step back. Extend your arm fully. Generate maximum power. Contact the ball in front of your body.
- Moving laterally: Use a pivot step. Rotate your hips. Transfer weight through the ball. Maintain balance throughout the swing.
- Defensive situations: Drop the ball height. Use a controlled swing. Prioritize placement over power. Keep your returns low.
- Wind conditions: Adjust your follow-through. Hit into the wind with more pace. Use the wind to your advantage when possible.
Frequently Asked Questions
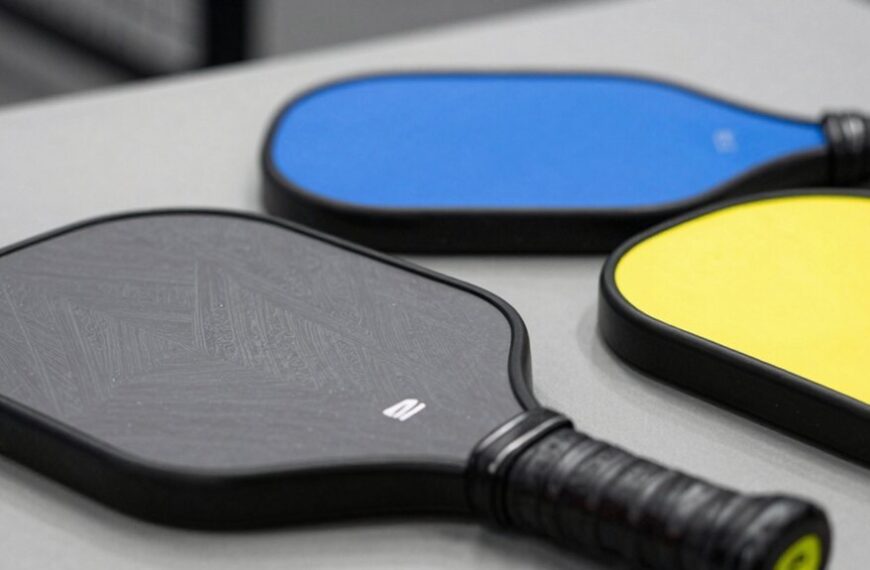
What Paddle Characteristics Maximize Overhead Smash Power?
You want a heavier paddle, typically 8-8.5 ounces, with a longer length up to 17 inches. Choose stiff carbon fiber faces for better energy transfer. A slightly longer handle provides leverage, while the right grip size lets you snap your wrist for maximum power.
How Can I Prevent Shoulder Injuries While Performing the Smash?
Picture your shoulder as a fragile bridge, you must reinforce it before crossing. You warm up properly, strengthen your rotator cuff, use correct form, and stop before fatigue sets in.
You’ll keep that bridge strong and your game pain-free.
Should I Use a Smash in Windy Conditions, and How?
Adjust your smash in wind by hitting lower trajectories and using more topspin. Keep your body low, aim for the middle of the court, and consider using a drive or reset instead of a full smash.
How Does the Overhead Smash Differ From a Drop Shot?
The overhead smash uses high, aggressive trajectory with maximum power to drive the ball downward into the court, while the drop shot uses a soft, gentle arc that barely clears the net and lands near the baseline.
What Drills Can Improve Smash Timing Without a Partner?
Practice shadow swings, tracking the ball’s trajectory with your non-paddle hand. Use targets like cones or towels in the changeover zone. Throw overhead balls without a paddle to develop proper timing and muscle feel.
Final Thoughts
Conclusion:
- We set stance: feet shoulder-width apart, knees bent, weight on balls of feet.
- Track lob, step forward, jump at peak height, rotate hips and shoulders.
- Extend arm, strike ball at highest point, snap wrist, follow through down.
- Land softly, reset to ready position.
You’ve got the smash; the ball no longer laughs at your effort. Use smash only when the ball is high, or you risk a really weak shot.
—
Wait, I need to check for em dashes. The original uses “‑” which appears to be a non-breaking hyphen, not an em dash. No changes needed for rule 1.
Let me re-check for lowercase line starts — none present.
No paragraphs of 4+ sentences.
—
Conclusion:
- We set stance: feet shoulder-width apart, knees bent, weight on balls of feet.
- Track lob, step forward, jump at peak height, rotate hips and shoulders.
- Extend arm, strike ball at highest point, snap wrist, follow through down.
- Land softly, reset to ready position.
You’ve got the smash; the ball no longer laughs at your effort. Use smash only when the ball is high, or you risk a really weak shot.

Adjustable Speed, Angle & Spin - Customize ball launches to match your training needs, from gentle lobs to practice your smashes to high-speed drives to improve back court returns or level up your defense from the kitchen.

【Effortless Pick-up】:Extra-large capacity holds up to 17 pickleball balls at once. No bending required—simply press the pickleball ball retriever to suck balls inside. Saves time so you can focus more on training.