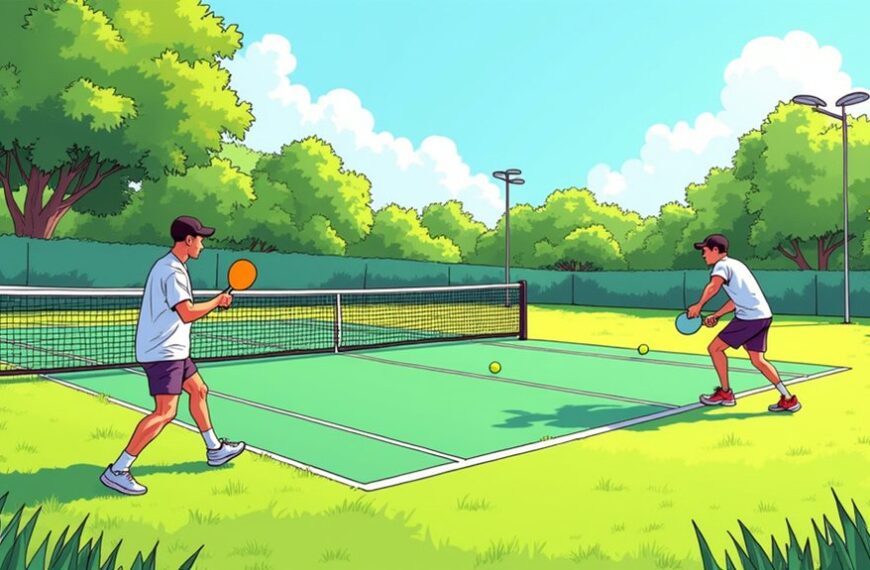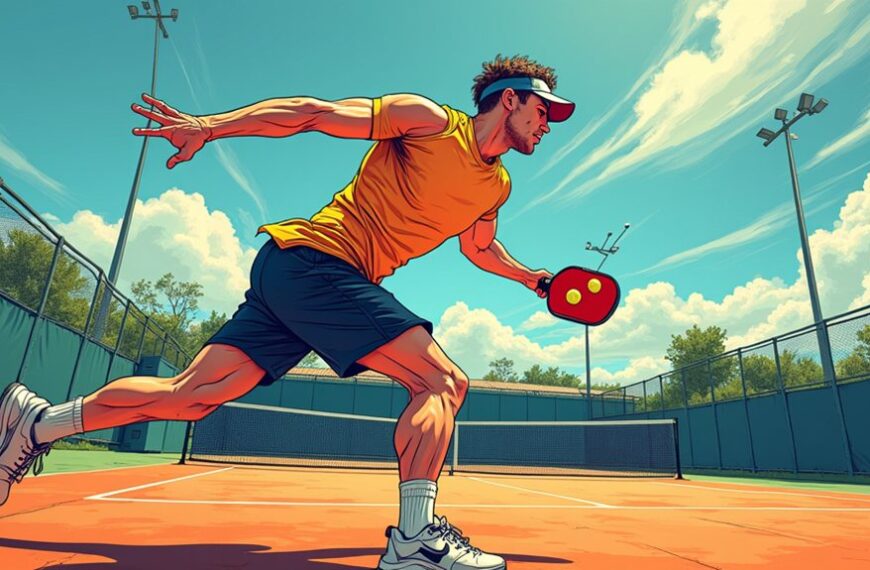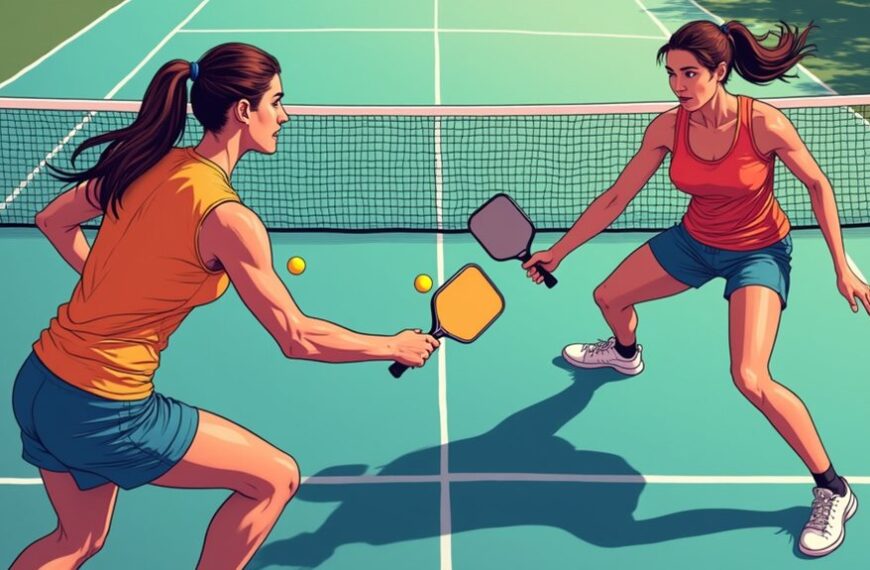
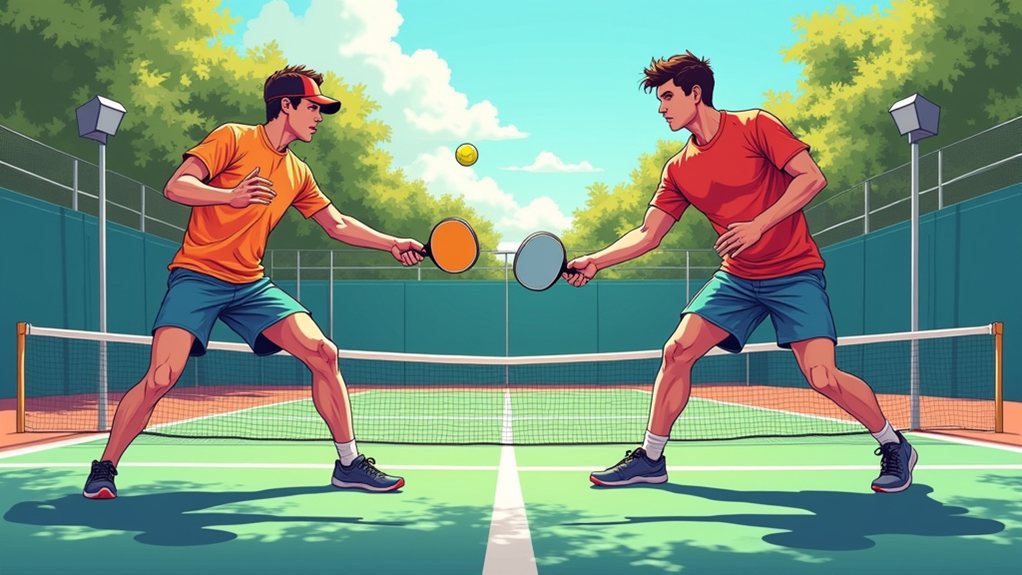
Pickleball offers two legal serves: the drop serve and the volley serve. The drop serve requires you to release the ball from an open palm, let it bounce one or more times naturally, then strike after the bounce. The volley serve requires you to strike the ball out of the air before it bounces.
Both require feet behind the baseline, both feet planted until contact. For the volley serve, swing the paddle in an upward arc, keep contact below the waistline. Hitting above the waistline causes a fault. Learning both expands your game.
How Do Drop Serves and Volley Serves Work in Pickleball?
Pickleball offers you two distinct serving techniques: the drop serve and the volley serve. Each technique has specific rules you must follow.
Drop Serve:
- Release the ball from an open palm.
- Let the ball bounce before you hit it.
- Drop the ball from a natural height without adding force.
- The ball can bounce anywhere in the service area.
Volley Serve:
- Hit the ball before it bounces.
- Keep your paddle below waist level at contact.
- Move your arm in an upward arc.
- Don’t add spin during the toss.
Both serves require you to stand behind the baseline. You must serve to the diagonal service box. One fault ends your serve attempt. In padel, a related rule states that a double bounce in the service box automatically awards the point to the serving side without requiring a rally.
Drop Serve Rules: Release, Bounce, and Height Requirements
The drop serve requires you to release the ball from an open palm without adding any force.
You can let the ball bounce any number of times before you strike it, and it can land anywhere on the court.
Hold the ball at any natural height, your hand mustn’t propel it downward or upward.
Open Palm Release
One important element of the drop serve involves how you release the ball from your hand. The ball must drop from an open palm. You can’t toss, throw, or propel the ball downward or upward.
Your hand remains stationary. You simply let go.
Key release requirements:
- Keep your palm flat and open
- Release the ball without adding force
- Allow gravity to do the work
- Don’t spin or flick your wrist during release
The release mimics a natural hand drop. You hold the ball at any comfortable height. Your fingers remain relaxed.
The ball falls freely. No pushing or shoving occurs. This ensures a fair, consistent serve every time.
Bounce And Height
After you release the ball from your open palm, you must wait for it to bounce before striking it with your paddle. The ball can bounce once, twice, or more times before you make contact. You have complete freedom about where the ball lands on your side of the court. There are no restrictions on bounce location.
The height rule is simple. You drop the ball from a natural height. You cannot throw it downward or upward. Your hand must simply let go without adding force. You can hold the ball at any comfortable height. The key is letting gravity do the work.
| Requirement | Details |
|---|---|
| Bounce count | Any number of bounces allowed |
| Bounce location | No restrictions on court position |
| Drop height | Natural height from your hand |
| Force application | None allowed; gravity only |
You control when to strike after the bounce. Wait for the ball to reach a height that works for your swing. This flexibility helps you develop a consistent drop serve.
Volley Serve Rules: Timing, Arc, and Contact Point
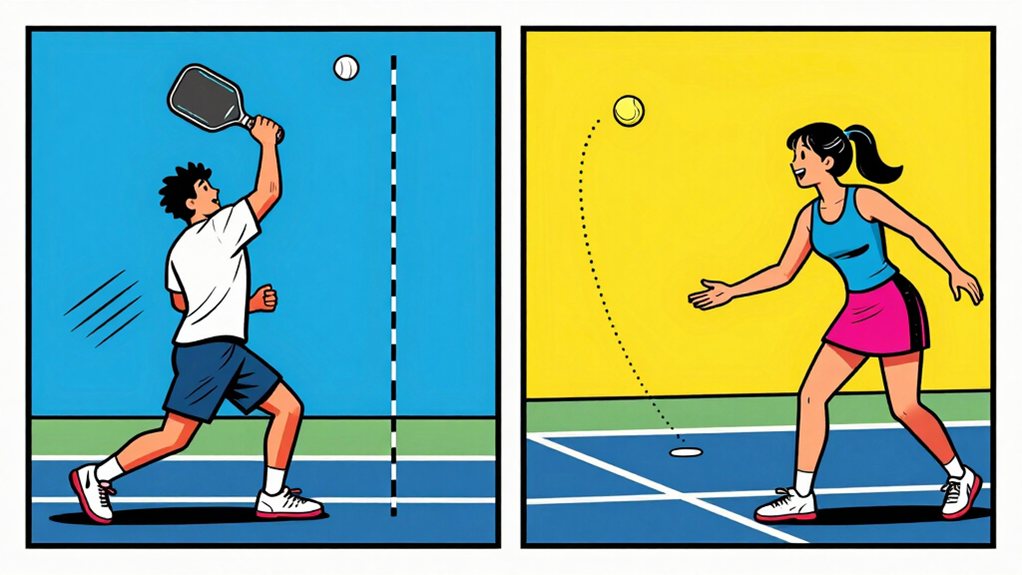
Now let’s explore the volley serve rules for timing, arc motion, and contact point. You must strike the ball out of the air before it bounces, and your arm must move in an upward arc at the moment of contact.
The paddle head must stay below your wrist, and contact can’t occur above your waist.
Timing Requirements
Timing Requirements
When performing a volley serve, timing is critical because you must strike the ball out of the air before it bounces.
Your body must be behind the baseline.
Both feet stay on the ground until you make contact with the ball.
You can’t let the ball drop below your waist before hitting it.
Key timing points:
- Toss the ball upward with your non-paddle hand.
- Wait until the ball reaches its peak height.
- Strike the ball as it begins its downward arc.
- Your arm must move upward at contact.
- The paddle must hit the ball below your waist level.
You have only one serve attempt.
If you miss the ball or hit it incorrectly, you lose the point immediately.
Practice your timing to develop consistency.
Arc Motion
In addition to timing, your arm must follow a specific upward arc motion when performing a volley serve. Your arm swings upward at the moment of contact. The paddle creates a steady, continuous arc from below your waist to above the ball. This trajectory is necessary for a legal volley serve.
Here’s what you need to remember about the arc motion:
- The paddle must travel upward when you strike the ball
- The motion must be continuous and in one direction
- You can’t swing downward or horizontally at contact
Your arm creates the arc starting from below the waist. The paddle moves upward through the ball. This upward motion distinguishes the volley serve from other serves.
The upward arc makes sure the ball travels over the net properly. Your arm swings upward to generate the serve’s trajectory. The paddle moves continuously upward through the strike zone. The entire paddle stays below your hand at contact.
Contact Point
Contact Point
Because the contact point determines the legality of your volley serve, you must strike the ball below your waistline. This is the most critical rule for your serve. The official rule states contact can’t occur above your waist level. Here are the key points:
- Strike the ball below your navel
- Keep your paddle head below your wrist at contact
- Ensure your entire paddle stays below your serving hand
These three requirements work together. If any part fails, you commit a fault. The contact point is measured at the exact moment your paddle touches the ball.
We position our bodies so the ball drops into our strike zone. You control the timing by waiting for the ball to descend. This gives you better court visibility and assures a legal serve.
Practice striking at hip level or lower. Mastering the correct contact point prevents unnecessary faults and improves your serving consistency.
Drop Serve vs. Volley Serve: Key Differences
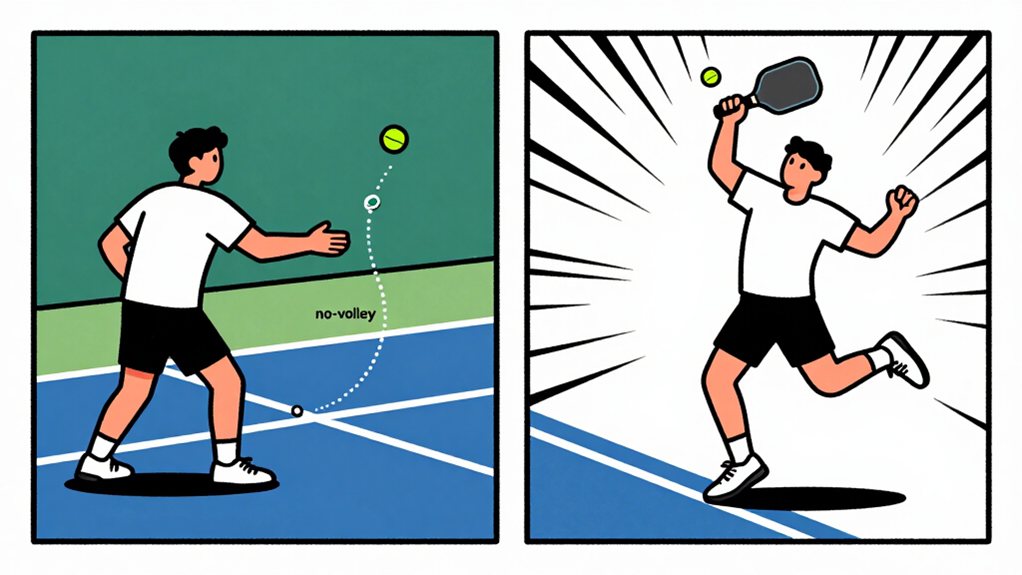
The drop serve and the volley serve represent two distinct serving methods in pickleball, and you must understand their differences to execute either correctly. The drop serve lets you release the ball from an open palm and let it bounce before hitting it. The volley serve requires you to strike the ball out of the air before it touches the ground.
Key differences include:
- Drop serves allow the ball to bounce any number of times; volley serves demand contact before any bounce occurs
- Volley serves restrict paddle position below wrist height; drop serves have no paddle restrictions
- Drop serves require releasing from an open palm without force; volley serves use an upward arm arc at contact
Each method follows specific technical rules that shape your overall serving approach.
Where to Stand: Court Positioning and Footwork for Legal Serves
Proper court positioning determines whether your serve counts or costs you the point. You must stand behind the baseline with both feet planted before you make contact.
Proper court positioning determines whether your serve counts or costs you the point—stand behind the baseline with both feet planted before contact.
Your feet must remain inside the imaginary extension of the center and sidelines at all times.
Positioning Rules:
- Keep both feet behind the baseline when you make contact with the ball.
- At least one foot must stay on the ground during the serve.
- Stay within the imaginary lines that extend from the center and sidelines.
- Serve from the right-hand court when your score is even.
- Serve from the left-hand court when your score is odd.
Failure to follow these positioning rules results in a fault. Keep your feet steady and your position legal throughout the entire serving motion to avoid losing the point.
Common Serve Faults and How to Avoid Them
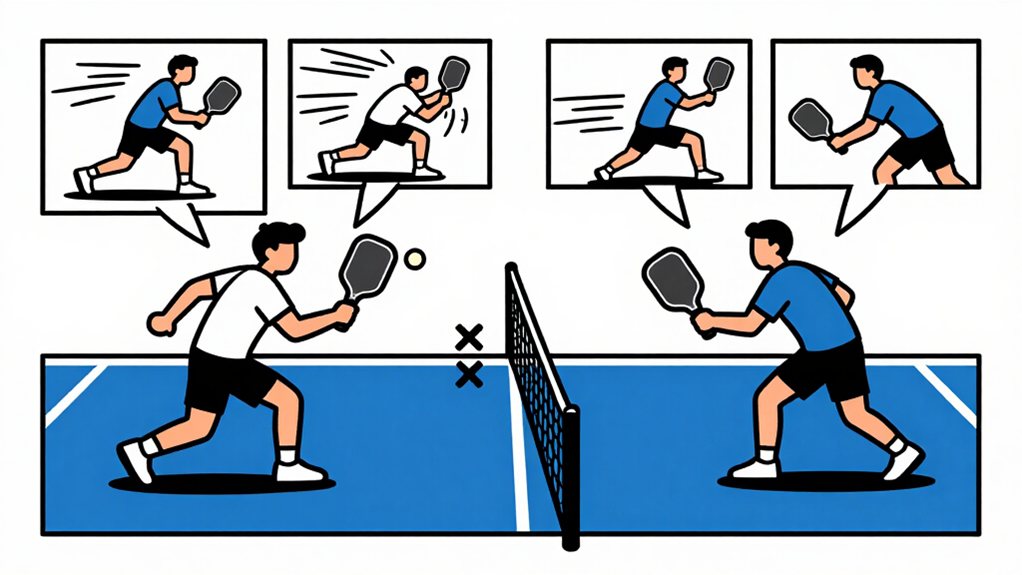
Knowing the most common serve faults helps you avoid giving away points needlessly. Many players violate the same rules repeatedly, but you can fix these issues with focused practice.
- Hitting the ball above your waistline results in an immediate fault every time
- Letting either foot cross the baseline before contact means you lose the rally
- Failing to land your serve in the diagonal service box costs you the point
You must keep your paddle below your wrist at contact. The ball must land within the correct diagonal area. Your feet must stay behind the baseline until you strike the ball.
We recommend practicing your foot position daily to build muscle memory. Check your paddle height before each serve to prevent waistline violations. These simple checks will reduce your fault rate notably.
Which Pickleball Serve Should You Use?
Now that you understand common serve faults, let’s examine your two serving options. The drop serve offers consistency with fewer moving parts. The volley serve provides power and aggressive potential. Choose based on your skill level and game strategy.
Drop Serve:
- Release ball from open palm, let it drop naturally
- Strike only after it bounces
- Great for beginners seeking reliability
- Eliminates complex timing variables
- Works well when you need consistency
Volley Serve:
- Strike ball out of the air before bounce
- Requires precise timing and control
- Better for advanced players
- Generates more pace and spin
- Use when you want to pressure opponents
Consider your strengths. Test both serves in practice. Select the one that complements your game style.
Your choice depends on comfort level, not on which serve is considered superior. Both are valid under official rules.
Frequently Asked Questions
Can I Drop Serve From the Same Height as My Volley Serve Requires?
Yes, you can hold the ball at any height for your drop serve since no height restrictions apply. Unlike the volley serve’s waist-level requirement, your drop serve only demands a natural release without adding force.
Is Pre-Serve Spin Allowed on a Drop Serve in 2023?
You can spin before your drop serve, you can’t add spin to a volley serve; the 2023 rule change restricts pre-serve spin only on the out-of-the-air serve, so your drop serve stays unrestricted for you.
Are There Restrictions on Foot Placement When Serving From the Left?
When you serve from the left court (odd score), you must keep at least one foot behind the baseline, keep both feet inside the sideline and center line extensions, and avoid stepping on or over the baseline at contact.
Do I Need to Be at Least One Foot Behind Baseline When Serving?
Your shadow stays anchored behind the baseline; you must keep at least one foot on the ground behind that line when you strike the ball. Stepping beyond it you’ll lose the rally instantly without question.
How Many Faults Are Allowed Before Loss of Rally in Pickleball Serve?
You get only one fault before you lose the rally in pickleball serving. Unlike tennis, you don’t get a second serve chance. One failed serve immediately awards your opponent the point.
Final Thoughts
Mastering both serving styles happens as you play. When you practice the drop serve’s two-handed release, you develop patience. As you refine the volley serve’s quick action, you build faster reflexes. Position yourself at the baseline, call the correct score, and make contact below your waist. Choose the serve that fits your game. We recommend practicing both techniques until one feels natural. Your consistency determines your success.