1) Choose config: two side, by, side. 2) Gather tape, net, chalk, hammer. 3) You measure 20×44 tennis lines. 4) Tape sidelines, baselines. 5) Mark 7,ft kitchen from net. 6) Add centerline 10 ft from sideline. 7) We set net 36/34 in, taut. 8) Verify width, length, kitchen, height. 9) Test serve, two,bounce, kitchen footwork. 10) Inspect tape, reapply, tighten net. Following these steps gives a regulation,compliant court, and more details can clarify truly advanced play nuances.
Choose Your Pickleball Court Configuration
First, decide which pickleball court configuration fits your tennis court space. A standard pickleball court measures 20 feet wide by 44 feet long. One tennis court accommodates two side-by-side doubles pickleball courts.
For maximum use, arrange four courts in a quadruple configuration. This places two courts in each of two rows, running perpendicular to the tennis baseline.
Consider these options:
- One doubles court on each side of the tennis net
- Two parallel courts running lengthwise
- Four courts in quad layout
Account for buffer zones between courts. These spaces guarantee player safety and allow movement. Your choice depends on available area and expected number of players. Measure your tennis court before selecting a configuration. Just as padel players require dedicated court-specific footwear with proper grip and lateral support for safe movement, pickleball players also need appropriate shoes suited to the court surface you configure.

OFFICIAL COURT DIMENSIONS: Create a regulation-size pickleball court with precise tape lines that meet standard 20x44 feet court specifications for competitive or recreational play

Quick And Easy Setup: Transform any space into a pickleball court with our pickleball court marking stencil kit. It's perfect for driveways, home gyms, parks, and indoor facilities. Our versatile court marking kit ensures a professional-quality template for court markings wherever you play. It takes 15-20 minutes to lay out the cardboard stencil kit, then another 15-20 minutes to paint. Let dry for 30 minutes and your pickleball court is ready to play on.

Quick And Easy Setup: Transform any space into a pickleball court with our pickleball court marking stencil kit. It's perfect for driveways, home gyms, parks, and indoor facilities. Our versatile court marking kit ensures a professional-quality template for court markings wherever you play. It takes 15-20 minutes to lay out the cardboard stencil kit, then another 15-20 minutes to paint. Let dry for 30 minutes and your pickleball court is ready to play on.
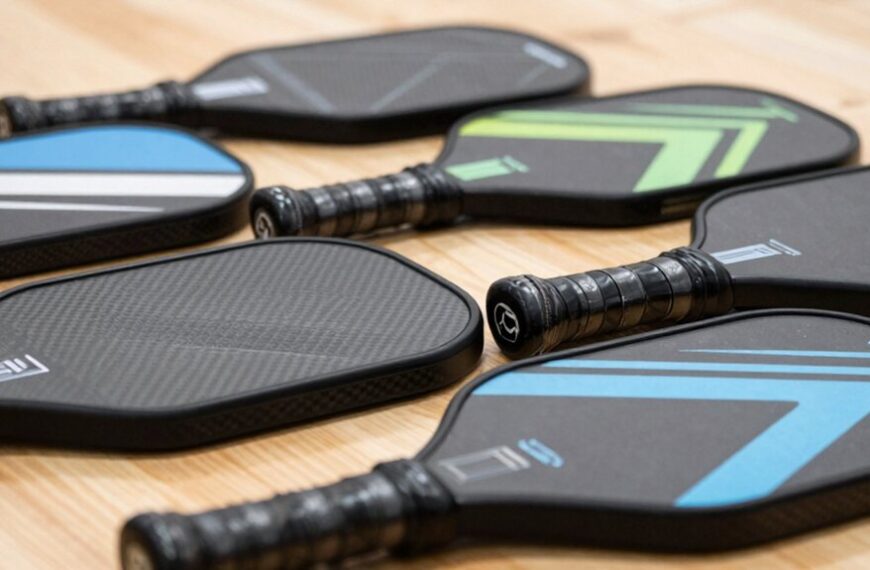
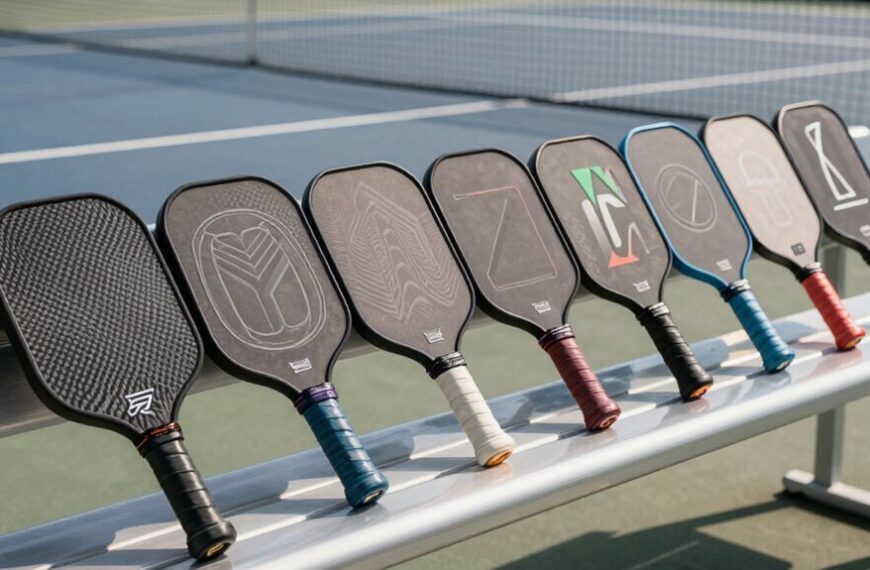
Gather Essential Equipment and Tools
Before marking boundaries, gather all necessary equipment and tools. You will need specific items to complete this task properly.
| Equipment | Purpose |
|---|---|
| Tape measure | Measure 20×44 foot area |
| Painter’s tape | Create temporary lines |
| Portable net | Official pickleball net (22ft wide, 36in high) |
| Chalk or markers | Mark sidelines and baselines |
| Center strap | Adjust net to 34 inches at center |
You also need cones or water bottles. They mark sidelines when you cannot use tape. A hammer helps secure tape on windy days.
Keep all items in one bucket for easy transport. Check each piece before you leave for the court.
Measure and Mark the 20×44-Foot Pickleball Playing Area
Once you’ve gathered your equipment, begin measuring and marking your 20×44-foot playing area. Use a tape measure to confirm exact dimensions. A standard pickleball court measures 20 feet wide by 44 feet long.
Steps:
- Position your tape measure at one corner of the target area.
- Extend the tape 20 feet for the width.
- Mark this point with painter’s tape or chalk.
- Measure 44 feet along the length from that corner.
- Complete the rectangle by connecting these points.
- Verify all four corners form perfect 90-degree angles using the 3-4-5 triangle method.
Check your measurements twice. Accuracy at this stage prevents problems during play.
The total playing space includes a 7-foot non-volley zone on each side of the net.
Mark Pickleball Sidelines Using Tennis Court Lines
First, align your pickleball sidelines with the existing tennis court sidelines; you’ll make sure they run parallel to the net.
Next, measure a 3.5‑foot offset from the tennis singles line and mark the new sidelines with a tape measure.
Finally, tape along these sidelines to create clear, temporary pickleball boundaries.
Align With Tennis Lines
For accurate pickleball boundaries, we use the existing tennis court lines as reference points. This method saves time and uses lines you already have.
- Identify the tennis singles sidelines. These run parallel to the net on each side.
- Pickleball sidelines sit inside the tennis singles sidelines.
- Use the tennis service box lines as your pickleball baselines. They mark the 22-foot distance from the net.
- Find the centerline of the tennis service box. This becomes your pickleball centerline.
- Your pickleball court measures 20 feet wide by 44 feet long.
You now have precise boundaries without new measurements.
Measure 3.5 Feet Offset
Now that you have identified the tennis lines, measure 3.5 feet inward from each tennis singles sideline to mark your pickleball sidelines.
Use a tape measure to determine this offset. This creates the 20-foot width required for your pickleball court.
Measure from both ends of the court to keep your lines straight.
- The 3.5-foot offset creates the correct 20-foot width for pickleball
- Measure from the inner edge of each tennis singles sideline
- Check measurements at both the near and far ends for parallel lines
- Consistent offset guarantees proper court dimensions for gameplay
- Accurate sidelines are critical for fair play and rule enforcement
Tape Along Sidelines
After measuring the 3.5-foot offset, apply tape along the sidelines to mark your pickleball court boundaries.
- Place tape 3.5 feet outside the existing tennis singles lines.
- Run tape from the baseline to the baseline on both sides.
- Keep lines straight and parallel to the net.
- Extend tape 44 feet to create the full court length.
- Press tape firmly onto the court surface.
- Verify both sidelines measure exactly 20 feet apart.
- Use painter’s tape to avoid leaving residue.
- Make sure lines form right angles with the net.
Your sidelines now mark the outer edges of your pickleball court. These lines define the 20-foot playing width for both doubles and singles matches.
The tape creates temporary, visible boundaries for play. Remove tape carefully after games to protect the tennis court.
Create the 7-Foot Non-Volley Zone (The Kitchen)
Although many players overlook this step, establishing the 7-foot non-volley zone is essential for proper pickleball play. You’ll hear players call this area “the kitchen.” This zone prevents players from volleying the ball while standing close to the net. It creates fair play and reduces aggressive put-away shots right at the net.
Measure 7 feet from the center of the net toward each baseline. Mark this line parallel to the net using tape or chalk. This line forms the front edge of your non-volley zone. The entire zone extends from this line to the net. Players can’t hit volleys while their feet are inside this 7-foot area.
- The kitchen prevents smash-heavy games near the net
- It creates strategic shot placement opportunities
- Players must step out to hit powerful volleys
- The rule adds safety for all skill levels
- It distinguishes pickleball from tennis and badminton
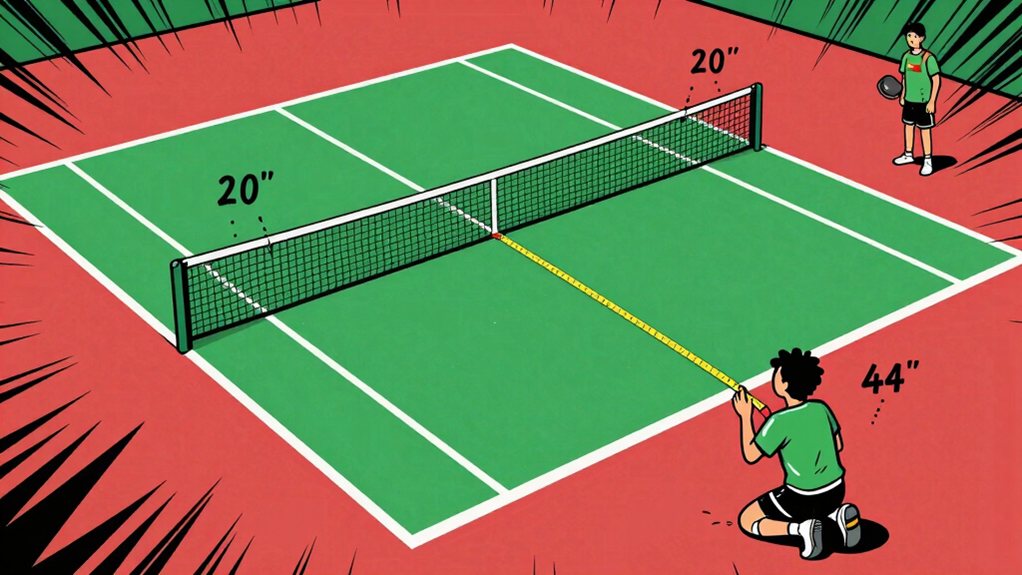
Set Up the Pickleball Net to Proper Height
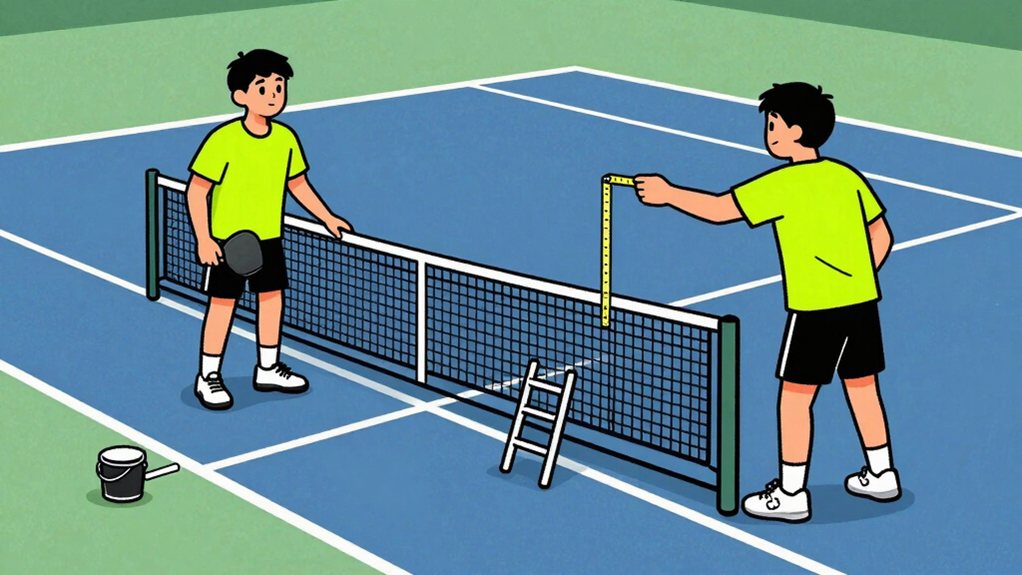
Once the court lines are marked, we set up the net to official tournament specifications.
After marking the court, set up the net to official tournament specifications; correct height, centered, and taut.
- Use a portable pickleball net. Don’t rely on the tennis net alone because it’s too narrow and sits at the wrong height.
- Position the net posts 22 feet apart for doubles play. Adjust to 20 feet for singles matches.
- Set the net height to 36 inches at the posts. Use the center strap to make sure the net measures 34 inches at the center.
- Pull the net tight and check the measurements. A loose net will sag and create an uneven playing surface.
- Verify all dimensions before play begins. Check the height at both the center and the posts. You may need to use stakes or weights to confirm the net in place on outdoor courts.
Add the Centerline for Court Division
One key line you must add is the centerline, which divides the court into two equal halves for doubles play. The centerline runs perpendicular to the net, connecting the non-volley zone line to the baseline.
Measure 10 feet from each sideline to find the center. Use painter’s tape or chalk to mark this line clearly. The centerline creates distinct service courts for each side.
- The centerline guarantees fair serve rotation between teams
- It defines the left and right service courts for scoring
- Players must serve from the correct court position
- The line helps referees make accurate out-of-bounds calls
- It separates the court into equal halves for strategic positioning

17FT NET – Best for outdoor open spaces. Designed for 2-on-2 play, making it perfect for doubles matches and family fun.

[Adjustable Poles with Height Marks] The adjustable poles with a 35.4"-61" height range and 3 clear height marks (42.1", 47.2", 61") make this net suitable for badminton, teen tennis, beach volleyball, and pickleball

REGULATION HEIGHT PICKLEBALL NET: Measures 36 inches at sides and 34 inches at the middle; 22 foot length covers full pickleball court with the recommended extra 12" on each side; Designed for pickleball & quality tested by pickleball players & pros
Verify All Measurements for Accuracy
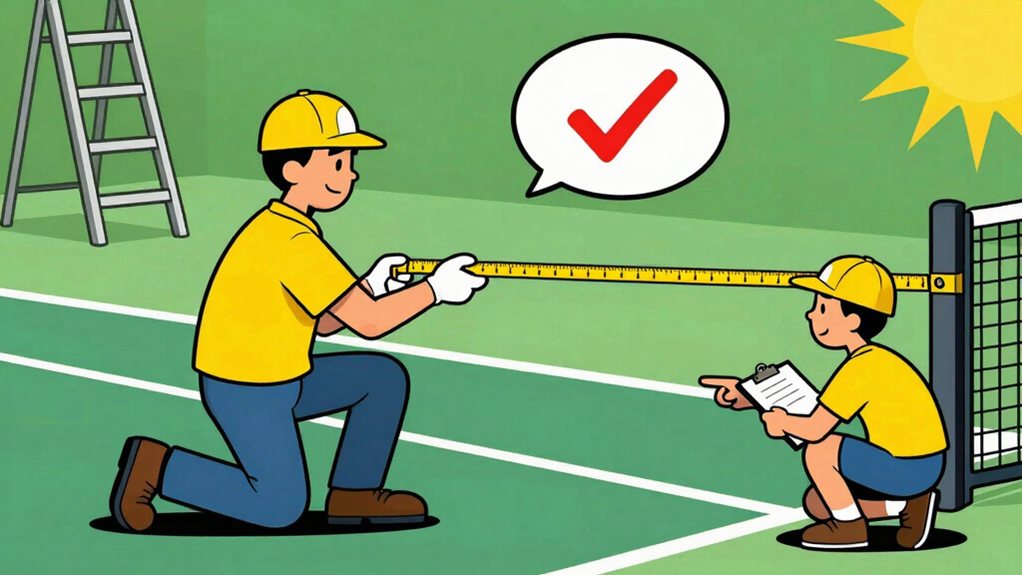
After marking the centerline, verify all measurements for accuracy. Use your tape measure to double-check every line you have drawn. A standard pickleball court measures 20 feet wide and 44 feet long.
Check that your sidelines are exactly 20 feet apart. Confirm your baseline measures 44 feet from the net. Verify the non-volley zone extends 7 feet from the net on both sides. Ensure your centerline runs perpendicular to the net. Check that all lines are straight and not curved.
- Re-measure the court width of 20 feet.
- Confirm the court length of 44 feet.
- Verify the 7-foot non-volley zone distance.
- Ensure the net sits at 36 inches high at the posts.
- Check that the net drops to 34 inches at center.
Use a second person to verify each measurement. We recommend checking dimensions twice to avoid errors. Small mistakes lead to unfair play.
Correct any discrepancies before proceeding. Document your findings for future reference.
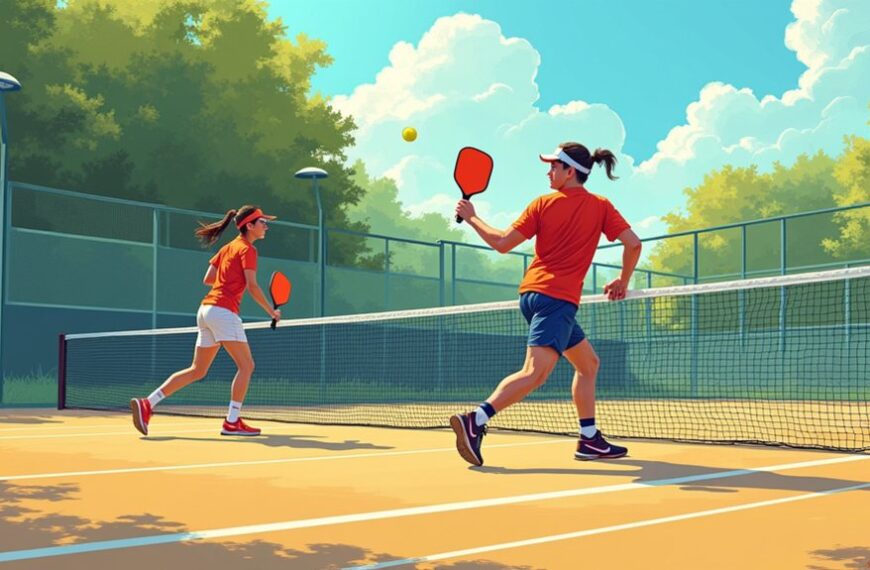
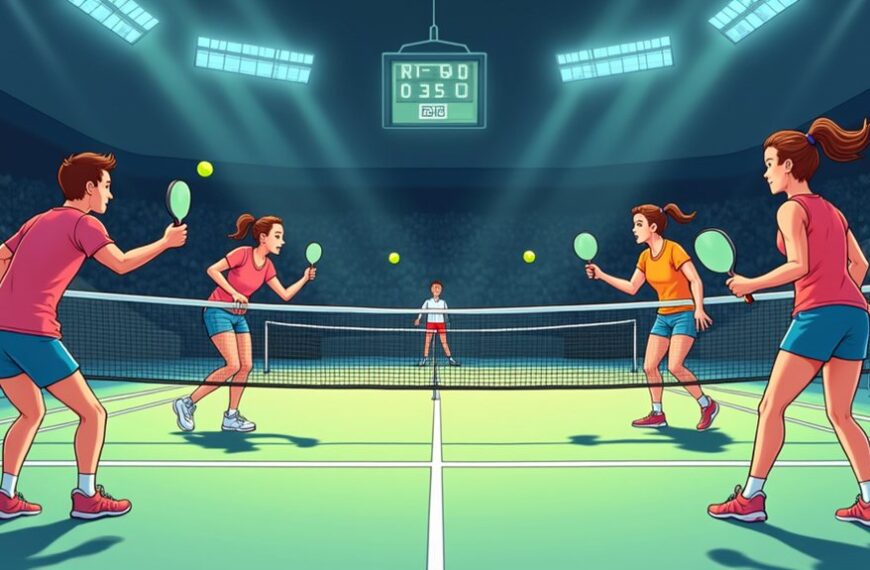
Test the Court With a Quick Play Session
Once you finish setting up the court, you must test game flow and verify boundaries. Grab a paddle, call a friend, and play a quick game to check that the lines are clear and the net height is correct.
You should verify the 20-foot width, 44-foot length, and the 7-foot non-volley zone on both sides with a tape measure.
Test Game Flow
When you’re ready, run a quick test game to verify your court setup works properly.
Gather two to four players.
Have them serve from the correct baselines.
Observe ball bounce and net clearance.
Check that players move safely in the non-volley zone.
Confirm that all boundary lines are visible and accurate.
Play at least two full games.
Note any equipment issues.
Mark adjustments immediately.
- Guarantee serve lands in the opposite diagonal service court
- Verify the ball must bounce once on each side before volleys begin
- Confirm players can’t step into the kitchen during volleys
- Check that the third shot must land in the kitchen or beyond
- Validate that the ball is out if it lands beyond the baseline
Verify Boundaries
Begin your boundary verification by running a controlled test play with at least two players. Have players serve and return from baseline to baseline. Observe ball trajectory and player movement. Adjust sideline markings if balls land outside marked areas.
Check the non-volley zone (kitchen) for foot fault detection. Make certain players do not enter the 7-foot zone during volleys. Mark any confusion points with temporary cones.
| Area | Measurement | Verification Method |
|---|---|---|
| Sidelines | 20 feet | Tape measure check |
| Baseline to Net | 22 feet | Step count validation |
| Kitchen Zone | 7 feet | Visual marker review |
Walk the court perimeter after play. Confirm all boundary lines align with original measurements. Your court passes verification when gameplay flows without boundary disputes.
Maintain Your Temporary Pickleball Setup Between Games

After each game, inspect your tape lines and net height to make sure they meet regulations. Tighten loose tape ends to prevent tripping hazards. Check that your portable net remains at 34 inches at center and 36 inches at posts.
Remove debris from the playing surface to maintain fair bounce. Store your equipment in a dry location between sessions.
- Reapply tape before each use. Faded lines cause confusion and disputes.
- Check net tension regularly. A slack net affects ball trajectory and game flow.
- Inspect tape adhesion after rain. Wet conditions weaken tape bond.
- Verify court dimensions before tournaments. Small errors lead to player protests.
- Replace worn equipment immediately. Damaged gear creates safety risks.
Make sure you replace tape when it lifts. Replace the net when it sags. Keep your setup ready for play.
Frequently Asked Questions
Do I Need Permission From the Tennis Facility to Set up Pickleball?
Yes, you’ll need permission from the tennis facility before setting up pickleball on their courts. Contact the management, explain your plans, confirm any liability or scheduling requirements they impose, and get official approval for safety.
How Much Does a Portable Pickleball Net Cost?
A basic portable pickleball net costs between $50-$100, while tournament-grade models run $150-$300. You’ll find quality options at $80-$120 that meet official regulations, or you can invest in higher-end versions with sturdier poles and durable net materials for long-term use.
Can I Use Existing Tennis Court Lights for Night Play?
Dark courts silence games, you can illuminate yours with existing tennis lights. Pickleball needs similar 50-100 foot candles. Position lights to cover your 20×44-foot area, adjusting angles since courts sit smaller than tennis.
Will Playing Pickleball Damage the Tennis Court’s Surface?
You won’t damage the tennis court surface if you use proper portable nets and remove tape carefully. The temporary pickleball lines typically don’t harm hard courts when you remove them promptly after each playing session.
How Often Should I Replace Tape Lines to Keep Them Visible?
Replace tape lines every two to three weeks during heavy play, or sooner if they peel, fade, or lose adhesion. Check them weekly for visibility and reapply as needed to always maintain clear court boundaries.
Final Thoughts
By following these steps, you’ve turned a tennis court into a regulation pickleball venue. When the last line aligns with the existing baseline, the setup feels natural. Finish with these checks:
- Verify 20 ft by 44 ft area.
- Check 7 ft non-volley zone.
- Set net at 34 in at center.
- Mark centerline.
- Test with a short rally.
Your court is ready for play. It now meets official pickleball dimensions and is safe for games.

synthetic/ textile herringbone rubber outsole for added traction and durability forefoot circle pivot area TPU midfoot shank for added stability energized EVA midsole for...