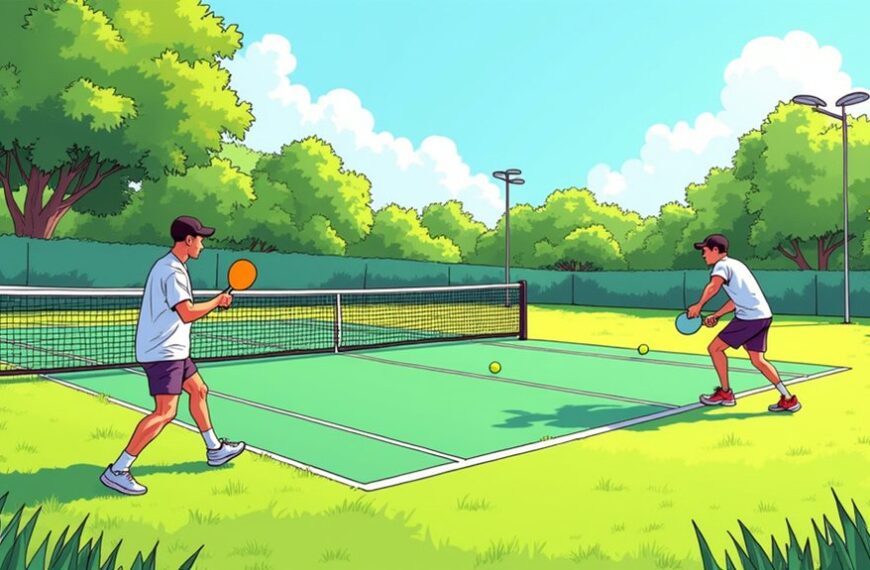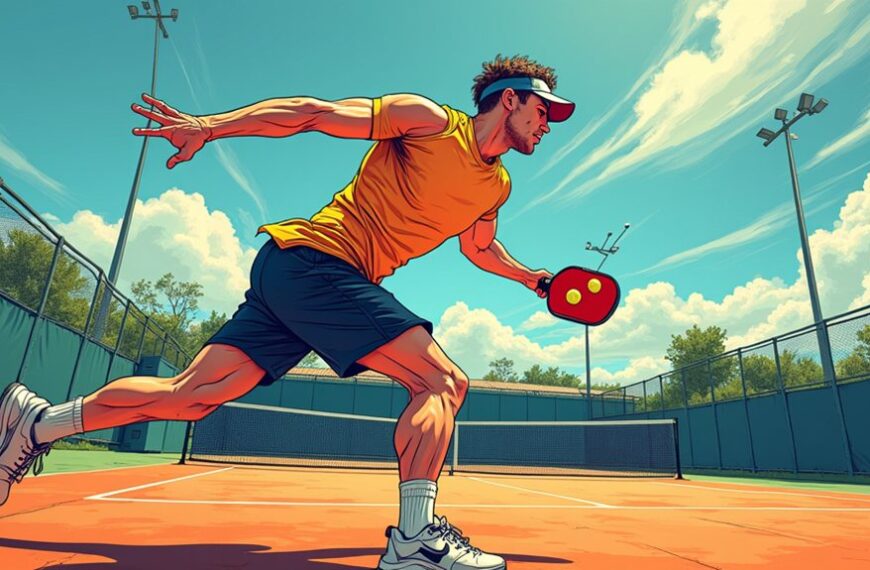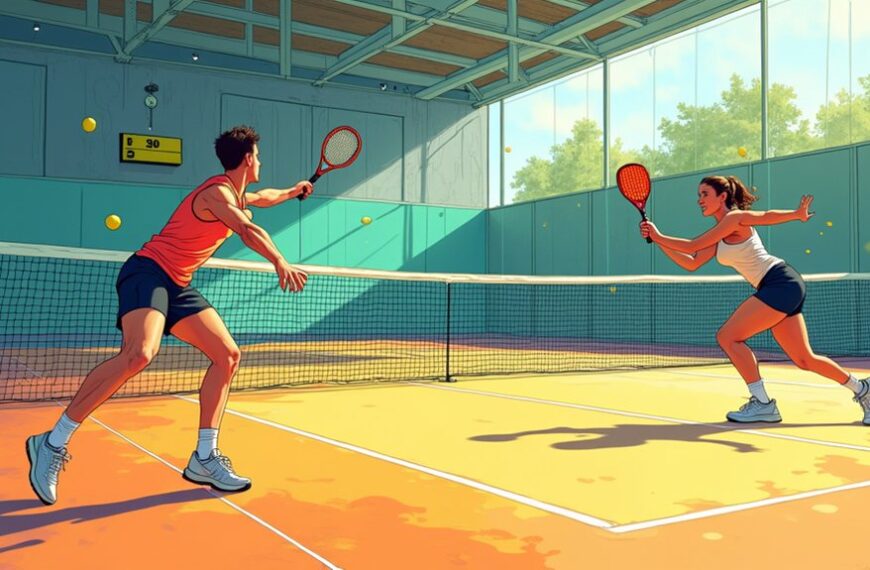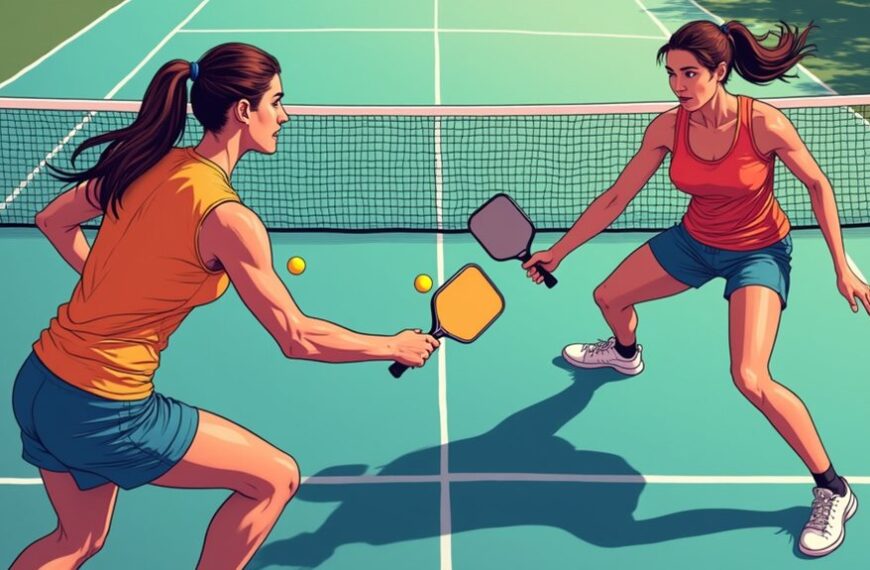
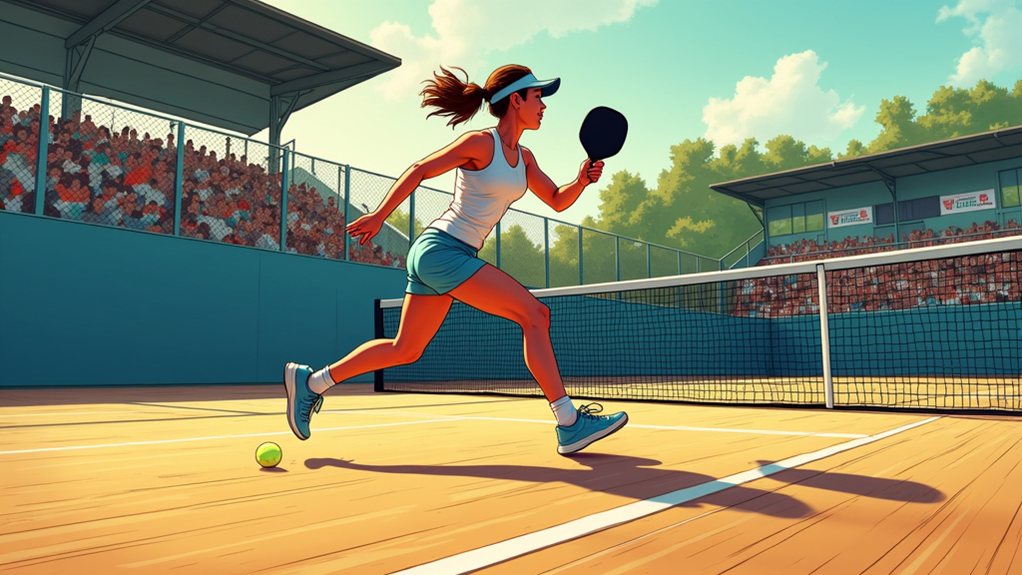
Master the changeover zone, the 12-foot area between baseline and kitchen line, to control points. Follow these steps: 1) Split step as opponents strike, landing with knees bent. 2) Advance on weak returns or low balls, take two steps forward with paddle up. 3) Stay back when facing high floating balls. 4) Practice the two-position reset: mid-court hold shifts weight back, deep absorb keeps paddle below waist.
You’ll discover more techniques to improve your game.
What Is the Transition Zone and Why It Wins Points
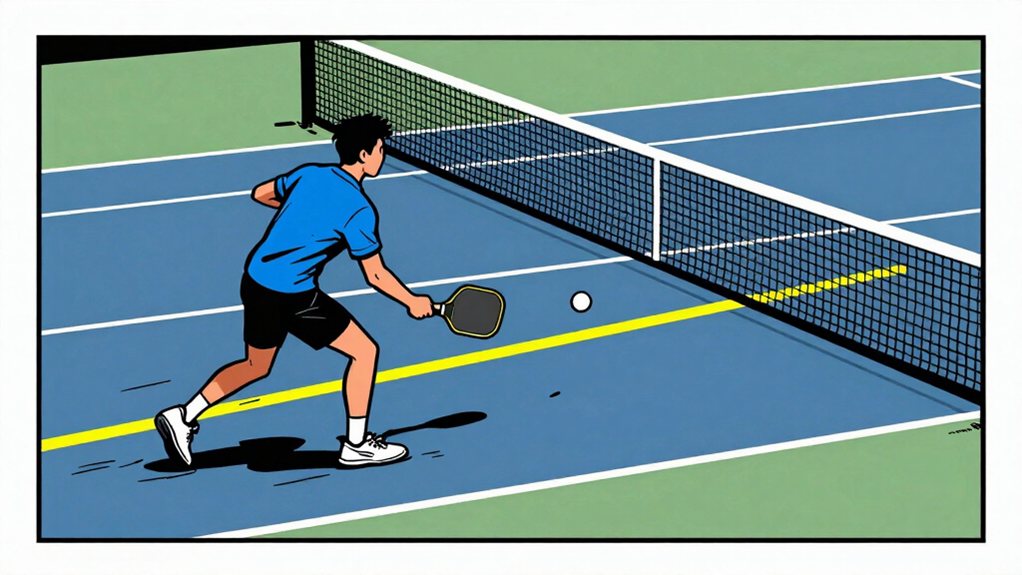
The boundary zone sits between your baseline and the non-volley zone kitchen line. This area is called the pickleball transition zone, also known as no man’s land pickleball. In this zone you shift from defense to offense, and you’ll control the point by taking the right position.
The transition zone, your no man’s land, is where you shift from defense to offense and seize point control.
- Identify the zone: it lies about 12 feet from the net.
- Take two quick steps forward, knees bent, paddle up always.
- Choose a shot: deep drive, reset, or block, moving to the net pickleball in the correct situation.
- Keep your weight on the balls of your feet and stay low.
- Watch the opponent’s position and react quickly.
Mastering the pickleball transition zone gives you the edge to win more points every time.

leather / synthetic / textile


BREATHABLE 360-DEGREE PERFORMANCE KNIT UPPER - Engineered mesh upper provides all-day ventilation while conforming to your foot for a secure, custom-like fit during intense court play
When to Advance Toward the Net (and When to Stay Back)
You must decide when to move forward and when to hold your ground.
Advance to the net when your opponent hits a weak return into the transition zone, when you hit a deep shot that pushes them back, or when you face a low, attackable ball.
Stay at the baseline or retreat when you receive high floating balls, as these give your opponent time to set up an attack.
Advancing To Net
Knowing when to advance toward the net separates control of the point from giving your opponent an easy attack. You move forward when your opponent hits a weak return into the changeover zone. You take two purposeful steps forward, then hop to establish a wide balanced base. Keep your weight on the balls of your feet.
Hold your paddle up in front of your chest. Contact the ball in front of your body with bent knees.
Advance on these situations:
- Low attackable balls from baseline rallies
- Good low drop shots landing in the kitchen
- Deep paced shots forcing your opponent back toward the baseline
When you advance, place reset shots to keep the ball low and short to the net. Your positioning dictates shot adjustments as you move through the changeover zone. Just as a smart WiFi thermostat system allows you to control your home environment with precision, controlling your court position with deliberate movement allows you to dictate the pace and outcome of each rally.
Staying At Baseline
Mastering when to stay at the baseline protects you from giving up easy attacks. You stay back when opponents hit high floating balls that sit up for smashes. Stay back when you receive deep shots that push you into the *transfer* zone. You retreat to baseline when opponents attack with pace and you can’t reset cleanly.
Use these red light signals:
- Ball comes above waist height from opponent.
- Opponent hits deep to your baseline corners.
- You receive a high bounce ball.
- Opponent stands at net ready to counter.
- You feel unbalanced from prior shot.
When you stay back, keep weight on balls of feet. Keep paddle up in front of chest. Watch opponent’s paddle face at contact. Prepare to reset low or block with soft hands.
Hold your baseline position firmly. Control the rally from behind.
Mastering the Split Step for Faster Transitions
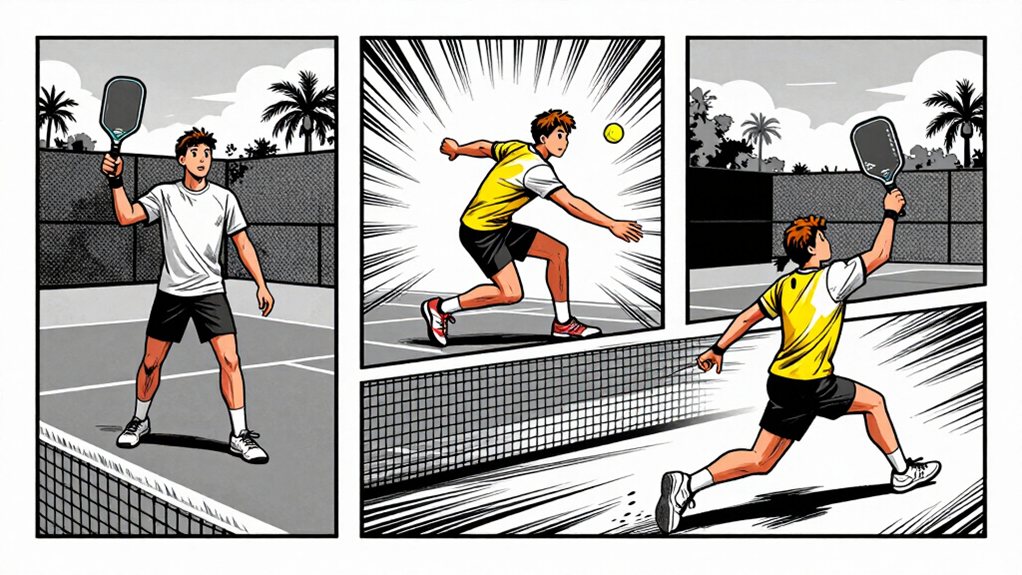
When you time your split step correctly, you create a balanced, explosive base for any shot. This footwork technique prepares you to move in any direction as your opponent makes contact. You jump slightly and land with feet shoulder-width apart, knees bent, weight on the balls of your feet.
Your paddle stays up in front of your chest. This freeze moment stops momentum and establishes a solid base.
You perform the split step as your opponent strikes the ball. The timing creates reactive ability. Your body stays athletic and ready.
- Jump just before opponent’s paddle contacts ball
- Land with soft knees absorbing impact
- Feet stay shoulder-width apart for stability
- Weight distributes evenly between both feet
- Paddle rises to chest height ready to strike
The Two-Step Forward: Your Gateway to the Kitchen
Once you’ve mastered the split step, you take two purposeful steps forward toward the kitchen. Your first step moves you into the change zone. Your second step positions you for the volley. These steps create forward momentum without rushing.
Steps to master the two-step forward:
- Take your first step as your opponent contacts the ball.
- Take your second step immediately after contact.
- Land with knees bent and weight on the balls of your feet.
- Hold your paddle up in front of your chest.
- Freeze in this position until you see the ball’s direction.
This technique bridges the gap between baseline and kitchen. It gives you control of the change zone. Practice these steps until they become automatic.
Shot Selection Strategies While Moving Through the Zone
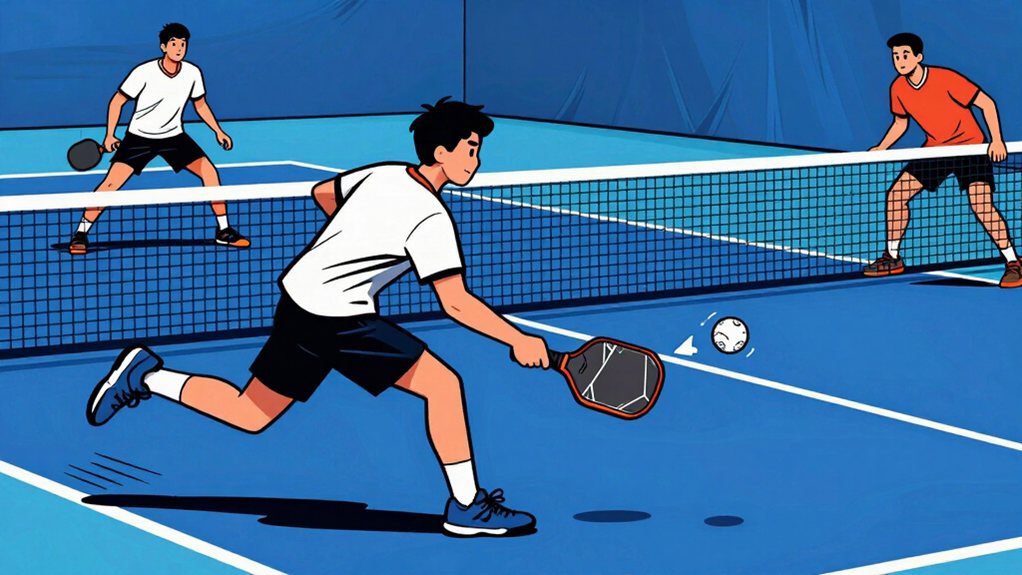
As you move through the change zone, you need to choose between deep shots and low resets.
Deep shots push your opponent toward the baseline and give you time to advance.
Low reset tactics keep the ball short and force your opponent to hit upward.
Deep Shot Placement
The key to controlling the shift zone involves placing deep shots that force your opponent back toward the baseline. When you hit deep, you buy time for your advance and force errors.
Aim for the back corners of the court. Use pace to keep opponents honest. Your deep shots should land near the baseline or sideline boundaries.
- Hit with pace toward the baseline corners
- Use your forehand or backhand with full rotation
- Keep your body balanced during the swing
- Target the opponent’s weaker side consistently
- Follow through toward your target spot
You control the pace. You force your opponent backward. Your deep placement disrupts their rhythm and creates space for your next move.
Low Reset Tactics
While moving through the changeover zone, you must select low reset shots that keep the ball low and short to the net. Your reset strategy adapts to your court position and ball trajectory. We use soft hands to absorb pace when opponents speed up their shots. Keep your paddle below waist level in ready position.
Key reset tactics:
- Mid-court reset holds your ground, shift weight back slightly
- Two-position reset adapts to ball trajectory
- Successful reset volley positions you for next attack
| Scenario | Recommended Reset |
|---|---|
| Fast drive at feet | Soft block to kitchen |
| Low drop shot | Soft volley drop |
| Hard angle shot | Sideways reset |
| High pace ball | Absorb with soft hands |
| Mid-court rally | Low soft reset |
You position yourself for next attack after successful reset.
The Two-Position Reset: Your Transition Safety Net
Two-position reset: mid-court hold, deep absorb. Soft hands, bent knees, paddle up—ready for any speed‑up at your feet.
Understanding the two-position reset gives you a safety net during the conversion from baseline to net. This technique adapts to your position and the ball trajectory.
You use two distinct reset positions based on where you stand in the transition region.
- Mid-court reset: hold your ground, shift weight back slightly
- Deep transition reset: absorb pace, keep paddle below waist
- Both require soft hands with relaxed grip pressure
- Contact happens in front of your body with bent knees
- Successful reset positions you for your next attack shot
You must read the ball height and speed quickly. Your paddle stays up, ready for any speed-up at your feet.
Master this two-position system, and you convert defense to offense with confidence.


Transition Zone Drills for Faster Court Coverage
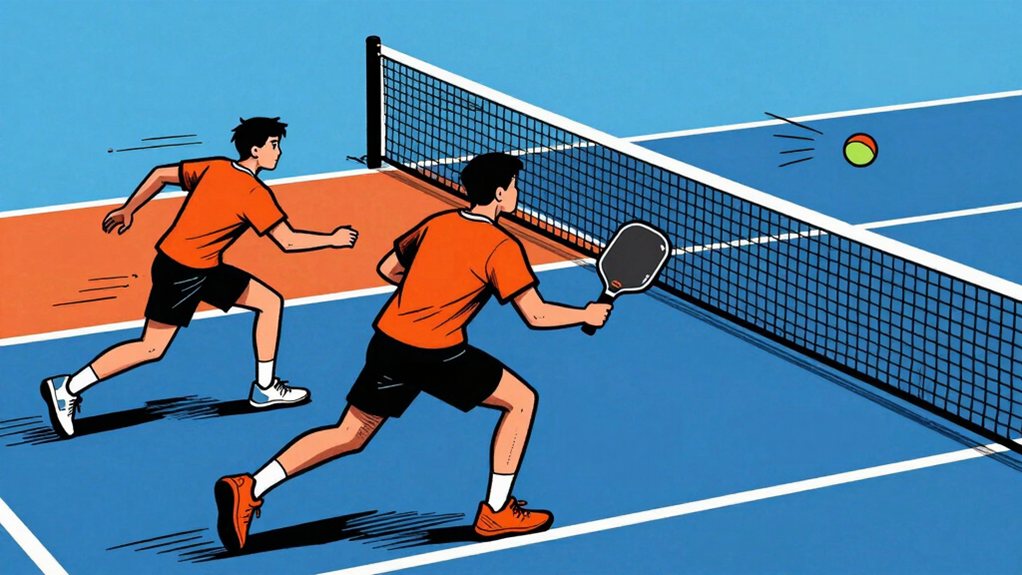
Now that you have mastered the two-position reset, put it into practice with specific drills.
First, try the baseline feed drill. A partner feeds balls from the baseline. You take two steps forward, perform a split step, and freeze. This drill develops your reaction time and proper positioning in the transition zone.
Second, practice the red light green light drill. Your movement forward depends on shot quality. Good shots mean you advance. Poor shots mean you stay back. This links movement directly to your shot outcome.
Third, work the no man’s land reset drill. Your partner hits hard feeds into the transition zone. You reset the ball to the kitchen, then move to the net.
These drills build your transition zone coverage:
| Drill Name | Purpose | Reps |
|---|---|---|
| Baseline Feed | Reaction time and positioning | 20-30 per side |
| Red Light Green Light | Shot-quality movement link | 15-20 per side |
| No Man’s Land Reset | Defensive transitions | 15-20 per side |
Common Transition Mistakes That Cost You Points
Common mistakes in the switch zone cost you points when you ignore proper positioning and footwork. You create easy opportunities for opponents when you rush forward in transition without control or hesitate at the baseline. These errors force you out of position and limit your shot options. Avoid these five critical mistakes:
- Running through the switch zone without a controlled split step freezes your momentum and leaves you unstable.
- Advancing on high floating balls exposes you to overhead smashes from opponents at the net.
- Hitting reset shots too hard defeats the purpose of resetting; you must absorb pace with soft hands.
- Standing flat-footed in no man’s land eliminates your ability to react quickly to pace changes.
- Failing to move your feet after contact prevents proper court recovery and your ready positioning for the next shot.
Frequently Asked Questions
How Do I Recover if I Get Caught in the Transition Zone?
Stop your momentum with a split step, reset to a balanced ready position, block or reset the ball soft to the kitchen, then move forward only when you have a clean opportunity to attack.
What Mental Cues Help Me Stay Aggressive While Moving Forward?
Play with purpose, push forward, and stay steady. Trust your training, take the pace, and attack confidently. Picture your put-away, plant your feet, and power through with positive poise.
Should I Adjust My Grip When Transitioning From Baseline to Net?
Don’t change your grip drastically as you move forward, but loosen it slightly. Your continental baseline grip works fine, but relax your fingers to absorb pace when you’re approaching the kitchen line for better control.
How Can I Improve Reaction Time for Split Steps During Rallies?
Can you feel the rhythm? Practice split steps on the balls of your feet when your opponent hits. Do shadow drills to build muscle memory. React to faster feeds in drills until split steps become your automatic reaction.
What Drills Help Seniors Develop Confidence in the Transition Zone?
You’ll practice baseline feed drills taking two steps forward and split step freeze. Use red light green light drills linking shot quality to movement. Perform no man’s land hard feeds building kitchen confidence for seniors.
Final Thoughts
Master the shift zone, and you turn defense into attack. Use the two-step forward to hit a soft third-shot drop that lands 2-3 feet inside the kitchen line. Split-step when your opponent contacts the ball, then drive forward with a low center of gravity. Practice these three moves, and we’ll dominate the net together.
- Split-step when opponent contacts ball.
- Take steps forward, paddle high.
- Land third-shot drop 2-3 feet inside kitchen line.

EFFORTLESS ENTRY WITH HANDS FREE SLIP-INS TECHNOLOGY: Designed as slip on shoes for men, the Viper Court Reload features Skechers Hands Free Slip-ins technology paired with a Heel Pillow that keeps your foot securely in place — no hands needed, no compromises on fit.

Wilson Pickle Pro Men's Pickleball Shoe - White, Size 10.5 US

BUILT FOR THE COURT, ON AND OFF IT – The Court Flo is Diadem's most player-driven shoe yet, engineered for athletes who demand speed, support, and breathability through every sprint, pivot, and stop on the tennis or pickleball court.