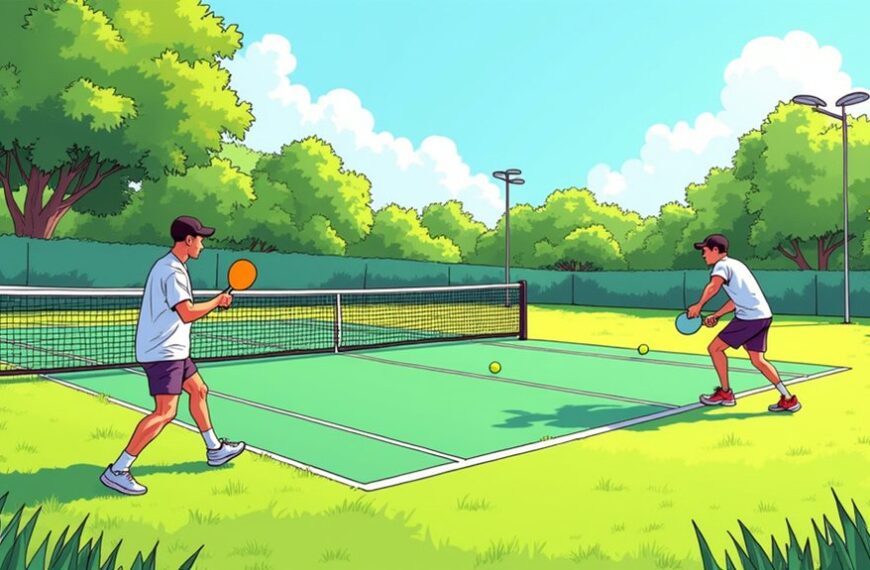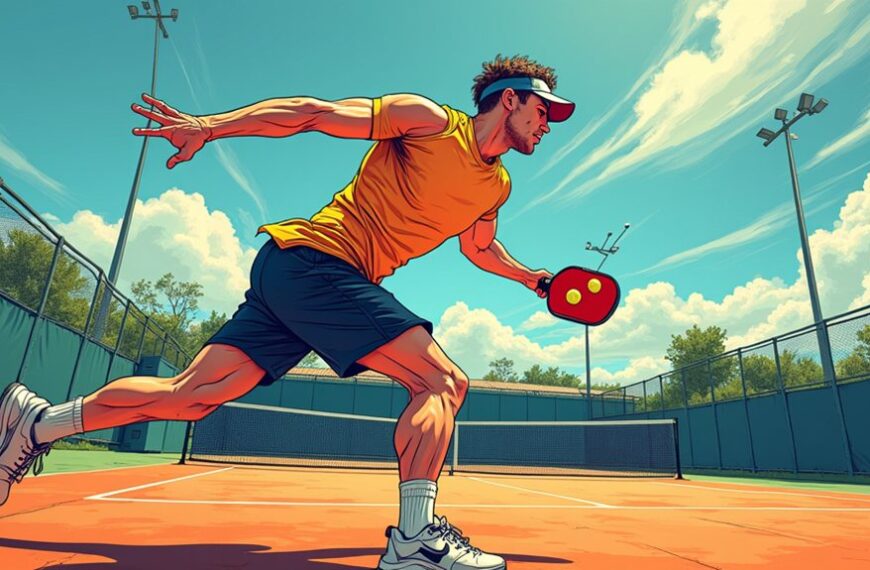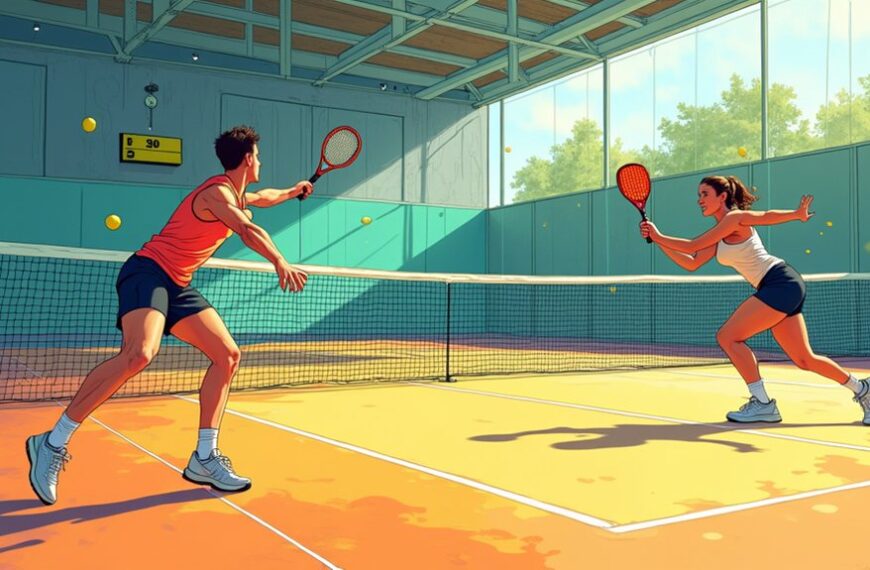
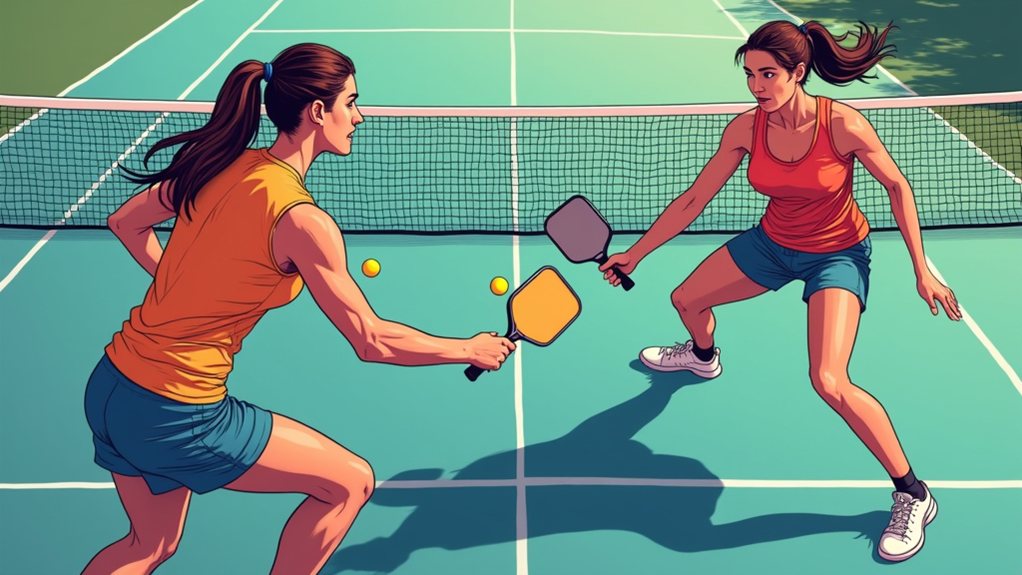
At the kitchen line, soft hands volleys start with a loose grip. Hold your paddle at chest height with 2,3 out of 10 pressure. Keep 70% of grip pressure through your index finger and thumb while keeping your middle, ring, and pinky fingers relaxed. Use a short, compact swing to absorb pace and redirect the ball low over the net.
Practice 15 consecutive block volleys against hard drives. Master this technique and you’ll control pace effortlessly. Continue and you’ll discover additional drills to refine your soft hands at the kitchen.
What Soft Hands Are and Why They Matter in Pickleball
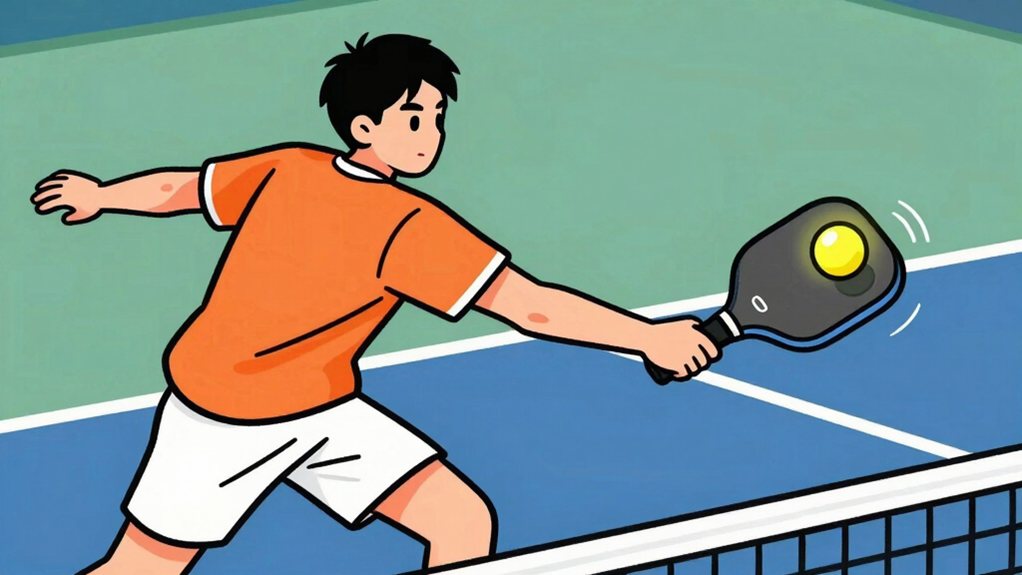
Soft hands in pickleball let you control your paddle with a gentle, relaxed grip. This creates a “give” at contact, letting the paddle absorb energy instead of fighting it.
Key points:
- Soft hands pickleball requires keeping your grip loose throughout each shot
- Your fingers guide the paddle, not your palm
- This cushion effect absorbs pace pickleball and controls ball direction
You need soft hands for these situations:
- Block volley technique on hard drives at the kitchen line
- Receiving fast serves and returns
- Drop volleys requiring touch over power
When you develop soft hands, you gain precision. You place shots where opponents can’t reach them.
You reduce unforced errors because you don’t force the ball. The paddle does the work, not your arm strength.
Just as a smart home thermostat learns to regulate temperature with minimal energy waste, soft hands train your body to regulate force with minimal effort.
Try this: hold your paddle at chest height, keep grip at 2-3 out of 10 pressure.

Comfort & Efficiency: The patented hexagonal design expands the contact surface between hand and handle, increasing grip efficiency by up to 14%. It allows a secure hold with less effort and tension, helping players maintain control and comfort during every shot.

Pro Level Overgrip for Pickleball: Elevate your paddle with a top quality pickleball overgrip tape built for comfort and control; perfect replacement for a worn out stock handle; Srikel pickleball paddle grip tape combines soft touch and high tack; enhances feel and handling for confident swings
Grip Pressure: The Key to Controlled, Consistent Volleys
Control your volleys by mastering grip pressure placement and finger balance. Your index finger and thumb lead the grip while your middle, ring, and pinky fingers stabilize the paddle.
Apply 2-3 out of 10 pressure for soft volleys and increase to 5 out of 10 for powerful drives.
Pressure Placement
Grip pressure serves as the foundation for controlled, consistent volleys in pickleball. You must understand where pressure lands on your paddle to maximize control. Here’s what we focus on:
- Place 70% of grip pressure through your index finger and thumb
- Keep your remaining three fingers relaxed for stability
- Position main pressure toward the handle’s top third for better leverage
- Shift pressure toward the handle’s base for more power on drives
We adjust placement based on shot type:
- Drop volleys: apply lighter pressure at paddle center
- Punch volleys: use firmer pressure toward paddle top
- Block volleys: maintain balanced pressure across handle
Remember to keep your hand relaxed yet focused. This guarantees you absorb pace and direct the ball where you want it to go.
Finger Grip Balance
Mastering finger grip balance transforms your volley control greatly. Your fingers control the paddle differently:
- Index finger and thumb provide main gripping power.
- Middle, ring, and pinky fingers stabilize the paddle.
- Spread grip pressure across all four fingers for balance.
- Avoid concentrating pressure in palm or thumb alone.
Try this test:
- Hold paddle at ready position.
- Squeeze each finger group separately.
- Feel how each group contributes to control.
Your ring and pinky fingers act as anchors. They prevent paddle rotation on off-center hits.
The index finger and thumb guide direction.
When all fingers work together, your volleys stay consistent. Practice finger awareness daily.
Touch tabletop surfaces with each finger to build sensitivity.
Pressure Regulation Strategies
Your finger balance knowledge now flows into understanding pressure regulation.
Grip pressure controls your volley consistency. We regulate pressure through specific squeeze points.
- Use a 2-3 out of 10 squeeze for soft volleys.
- Use a 5 out of 10 squeeze for drives.
- Keep your wrist loose during soft volleys.
- Apply gradual pressure increase when positioned further back.
- Your index finger and thumb provide main control.
- Your middle, ring, and pinky fingers stabilize the paddle.
This pressure system creates reliable touch. Your hand responds automatically to each shot type.
Practice these pressure points daily. Your volleys become consistent and controlled.
Paddle Position and Ready Position for Faster Reactions
Set your paddle at chest height with a slight forward tilt—this positioning gives you quick access to both forehand and backhand volleys.
Angle the paddle to match the 10 or 11 o’clock position so you can react faster to incoming shots.
Keep the paddle in front of your body in a ready position to protect your torso and stay prepared for quick exchanges.
Paddle Height And Angle
When you hold your paddle at chest height with a slight forward tilt, you create a effective ready position for faster reactions. This height allows quick adjustments in either direction.
Paddle Height Guidelines:
- Chest height serves as your default position
- Lower paddle for low balls near your feet
- Raise paddle for overhead shots
- Keep paddle in front of your body at all times
Optimal Angle:
- Point paddle head toward 10 o’clock position
- Slight forward tilt creates natural blocking angle
- Maintain vertical paddle face for defensive blocks
- Angle paddle slightly upward for higher returns
Quick Adjustments:
- Anticipate ball height
- Move paddle vertically to match contact point
- Keep wrist loose for angle changes
- Return to chest height after each shot
Ready Position Alignment
Now let’s align your body with your paddle for the fastest reactions.
Your paddle stays in front of your chest, pointing near 10 or 11 o’clock. This angle lets you react in any direction. Keep your knees bent, weight on the balls of your feet. Your shoulders stay loose, paddle vertical.
- Paddle height: chest level.
- Paddle angle: 10–11 o’clock.
- Body stance: knees bent, feet shoulder-width.
Your paddle remains in this position until the ball is returned each time.
| Body Part | Paddle Position | Ready Purpose |
|---|---|---|
| Head/Eyes | 10-11 o’clock | Fast reaction |
| Shoulders | Vertical | Blocking & volley |
| Feet | Shoulder-width | Stability |
Hold this ready stance until your opponent’s paddle contacts the ball, then adjust as needed. Keep your eyes on the ball, and stay low. Breathe steadily, always.
Compact Swing Mechanics for Clean Ball Contact
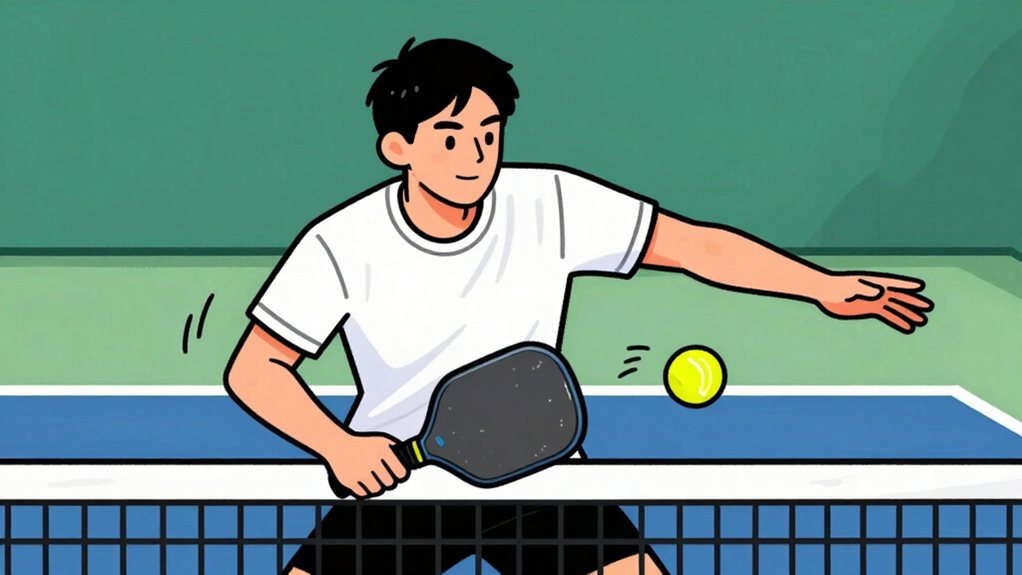
Mastering compact swing mechanics gives you clean, controlled ball contact.
Keep your swing short. Use your shoulder to drive the paddle, not your wrist. Limit any backswing to a few inches.
Keep your grip relaxed at about 2,3 out of 10 pressure.
Contact the ball at chest height with the paddle vertical. This approach reduces errors and improves consistency.
Practice this compact swing in each drill. Use it for both forehand and backhand volleys.
Keep your eyes on the ball. Follow through with a short finish, and you’ll stay balanced.
Trust the process.
- Keep backswing minimal, no wind-up.
- Rotate from the shoulder, not the wrist.
- Maintain light grip pressure, around 2,3 out of 10.
- Contact the ball at chest height with a vertical paddle.
Which Volley Type to Use and When?
Understanding which volley to use in each situation separates consistent players from erratic ones in your game. You pick the right style based on ball height, speed, position for you.
1. Soft volley, use when the ball is high and have time.
Keep grip at 2,3/10, paddle at chest, always absorb power, keep ball low.
2. Block volley, use on fast, low drives.
Squeeze at 3,4/10, angle paddle vertically, redirect pace.
3. Punch volley, use on high balls.
Firm grip at 5/10, short compact swing, drive the ball down.
| Volley Type | Use | Grip |
|---|---|---|
| Soft Volley | High, slow ball | 2,3/10 |
| Block Volley | Fast, low drive | 3,4/10 |
| Punch Volley | High, slow ball | 5/10 |
We’re choosing based on these cues to keep opponents under pressure.


Easy setup, no measuring, marking or assembly required

Features a stacked two-line ruling-style phrase block with a line-art court corner and perforated pickleball for pickleball players and fans
Drills to Develop Reliable Soft Hands at the Kitchen
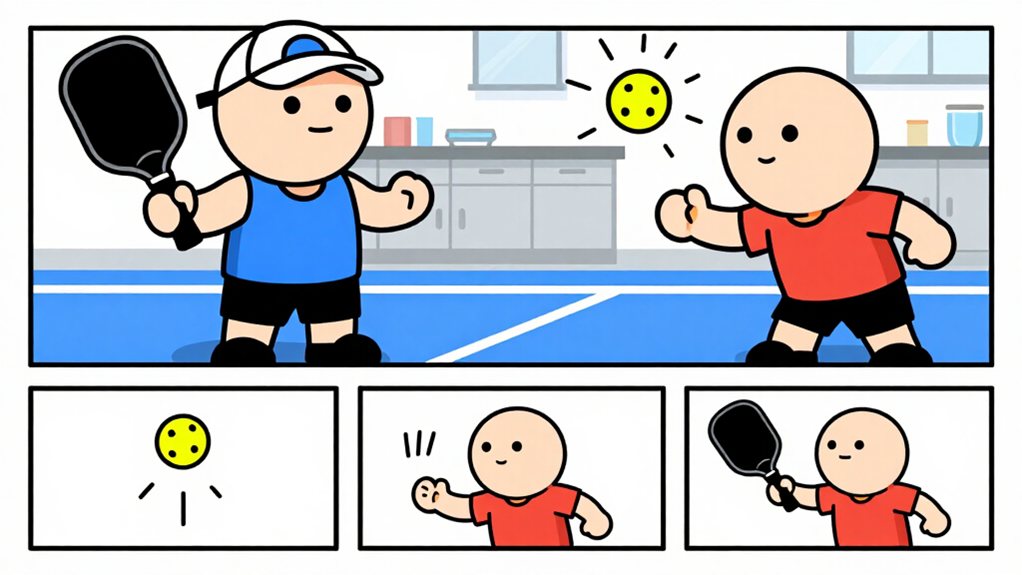
As you develop reliable soft hands at the kitchen, we begin with structured partner drills. Stand at the kitchen line while your partner feeds balls from the baseline. Focus on keeping your grip pressure at 2-3 out of 10. Use short, compact swings to absorb pace.
Develop reliable soft hands at the kitchen with structured partner drills; keep grip pressure at 2-3, use short, compact swings to absorb pace.
The goal is to block or punch the ball back with minimal force.
- Block Volley Drill: Partner hits hard drives at your chest. You absorb the pace with a soft paddle face and redirect the ball low over the net. Complete 15 successful blocks in a row before moving on.
- Drop Volley Drill: Partner lobs the ball high into your kitchen. You wait until it drops, then softly tap it into the non-volley zone. Aim for 10 consecutive drops that land within 3 feet of the net.
- Punch Volley Drill: Partner hits high, slow balls to your backhand side. You punch firmly but compactly to keep the ball low. Complete 20 punch volleys that stay below net height.
- Reaction Speed Drill: Partner varies feeds between fast and slow. You adjust your touch accordingly. Complete 25 total volleys with at least 20 going where you aim.
Frequently Asked Questions
How Can I Prevent Popping up Soft Volleys?
You prevent popped volleys by loosening your grip to 2-3 out of 10, keeping your wrist relaxed, and using a block technique. Let your paddle absorb the ball’s pace by tilting slightly back upon contact rather than pushing it upward.
What Paddle Weight Is Best for Soft Hands?
Lighter paddles in the 7.3-7.8 ounce range work best for your soft hands. You get better touch and control because lighter weight lets your fingers make quick adjustments during volleys, improving your overall game performance.
How Do I Improve Wrist Flexibility for Softer Touch?
Do wrist circles and flexion exercises daily. Practice wrist snaps without your paddle. Stretch your forearm muscles before and after each session. Use lighter paddles during drills. Loosen your grip gradually.
Can Soft Hands Be Used on Serve Returns?
Yes, you can use soft hands on serve returns. Relax your grip to about 2-3 out of 10, loosen your wrist to absorb pace, then guide the return into the kitchen for controlled placement.
What Are Common Mistakes When Learning Soft Hands?
You grip too tightly, use excessive wrist action, and take too long a backswing. You fail to keep your paddle at chest height and positioned at 10 or 11 o’clock. These mistakes eliminate the soft touch you need for control.
Final Thoughts
Master the soft hands volley and own the net. You control the pace, you force errors, you win points.
Practice these key points:
- Keep your grip relaxed and light
- Absorb the ball’s energy, don’t fight it
- Hold your paddle high, stay ready
- Guide the ball downward with gentle precision
We transform defensive moments into offensive opportunities through dedicated practice. Your net game reaches new heights when you commit to this skill.

Consistent grip reference: Gives your index finger a repeatable touch point to help build more consistent hand placement during practice and recreational pickleball play

ENHANCED LEVERAGE AND PADDLE CONTROL: PGD Trigger gives your index finger a defined leverage point, helping you stabilize the paddle face and generate confident power without relying solely on grip pressure.

【Consistent Finger Placement】This trigger-style grip insert sits on one side of the pickleball paddle handle so your index finger naturally lands in the same spot every time, helping reduce grip drift and promote a more consistent paddle angle on both forehand and backhand